I’ve used the Traveler’s Notebook for years, and regard it as one of the best options for carrying multiple notebook refills inside a single cover. Want to carry a planner, notebook, and sketchbook together, with different papers? You can do that! While connecting multiple refills can seem tricky at first, it’s easy and intuitive once you get the hang of it. The general rule of thumb to remember: A primary refill secured to the notebook cover using the center elastic cord serves as an “anchor” for the entire system, allowing you to add additional refills and accessories using connecting rubber bands.
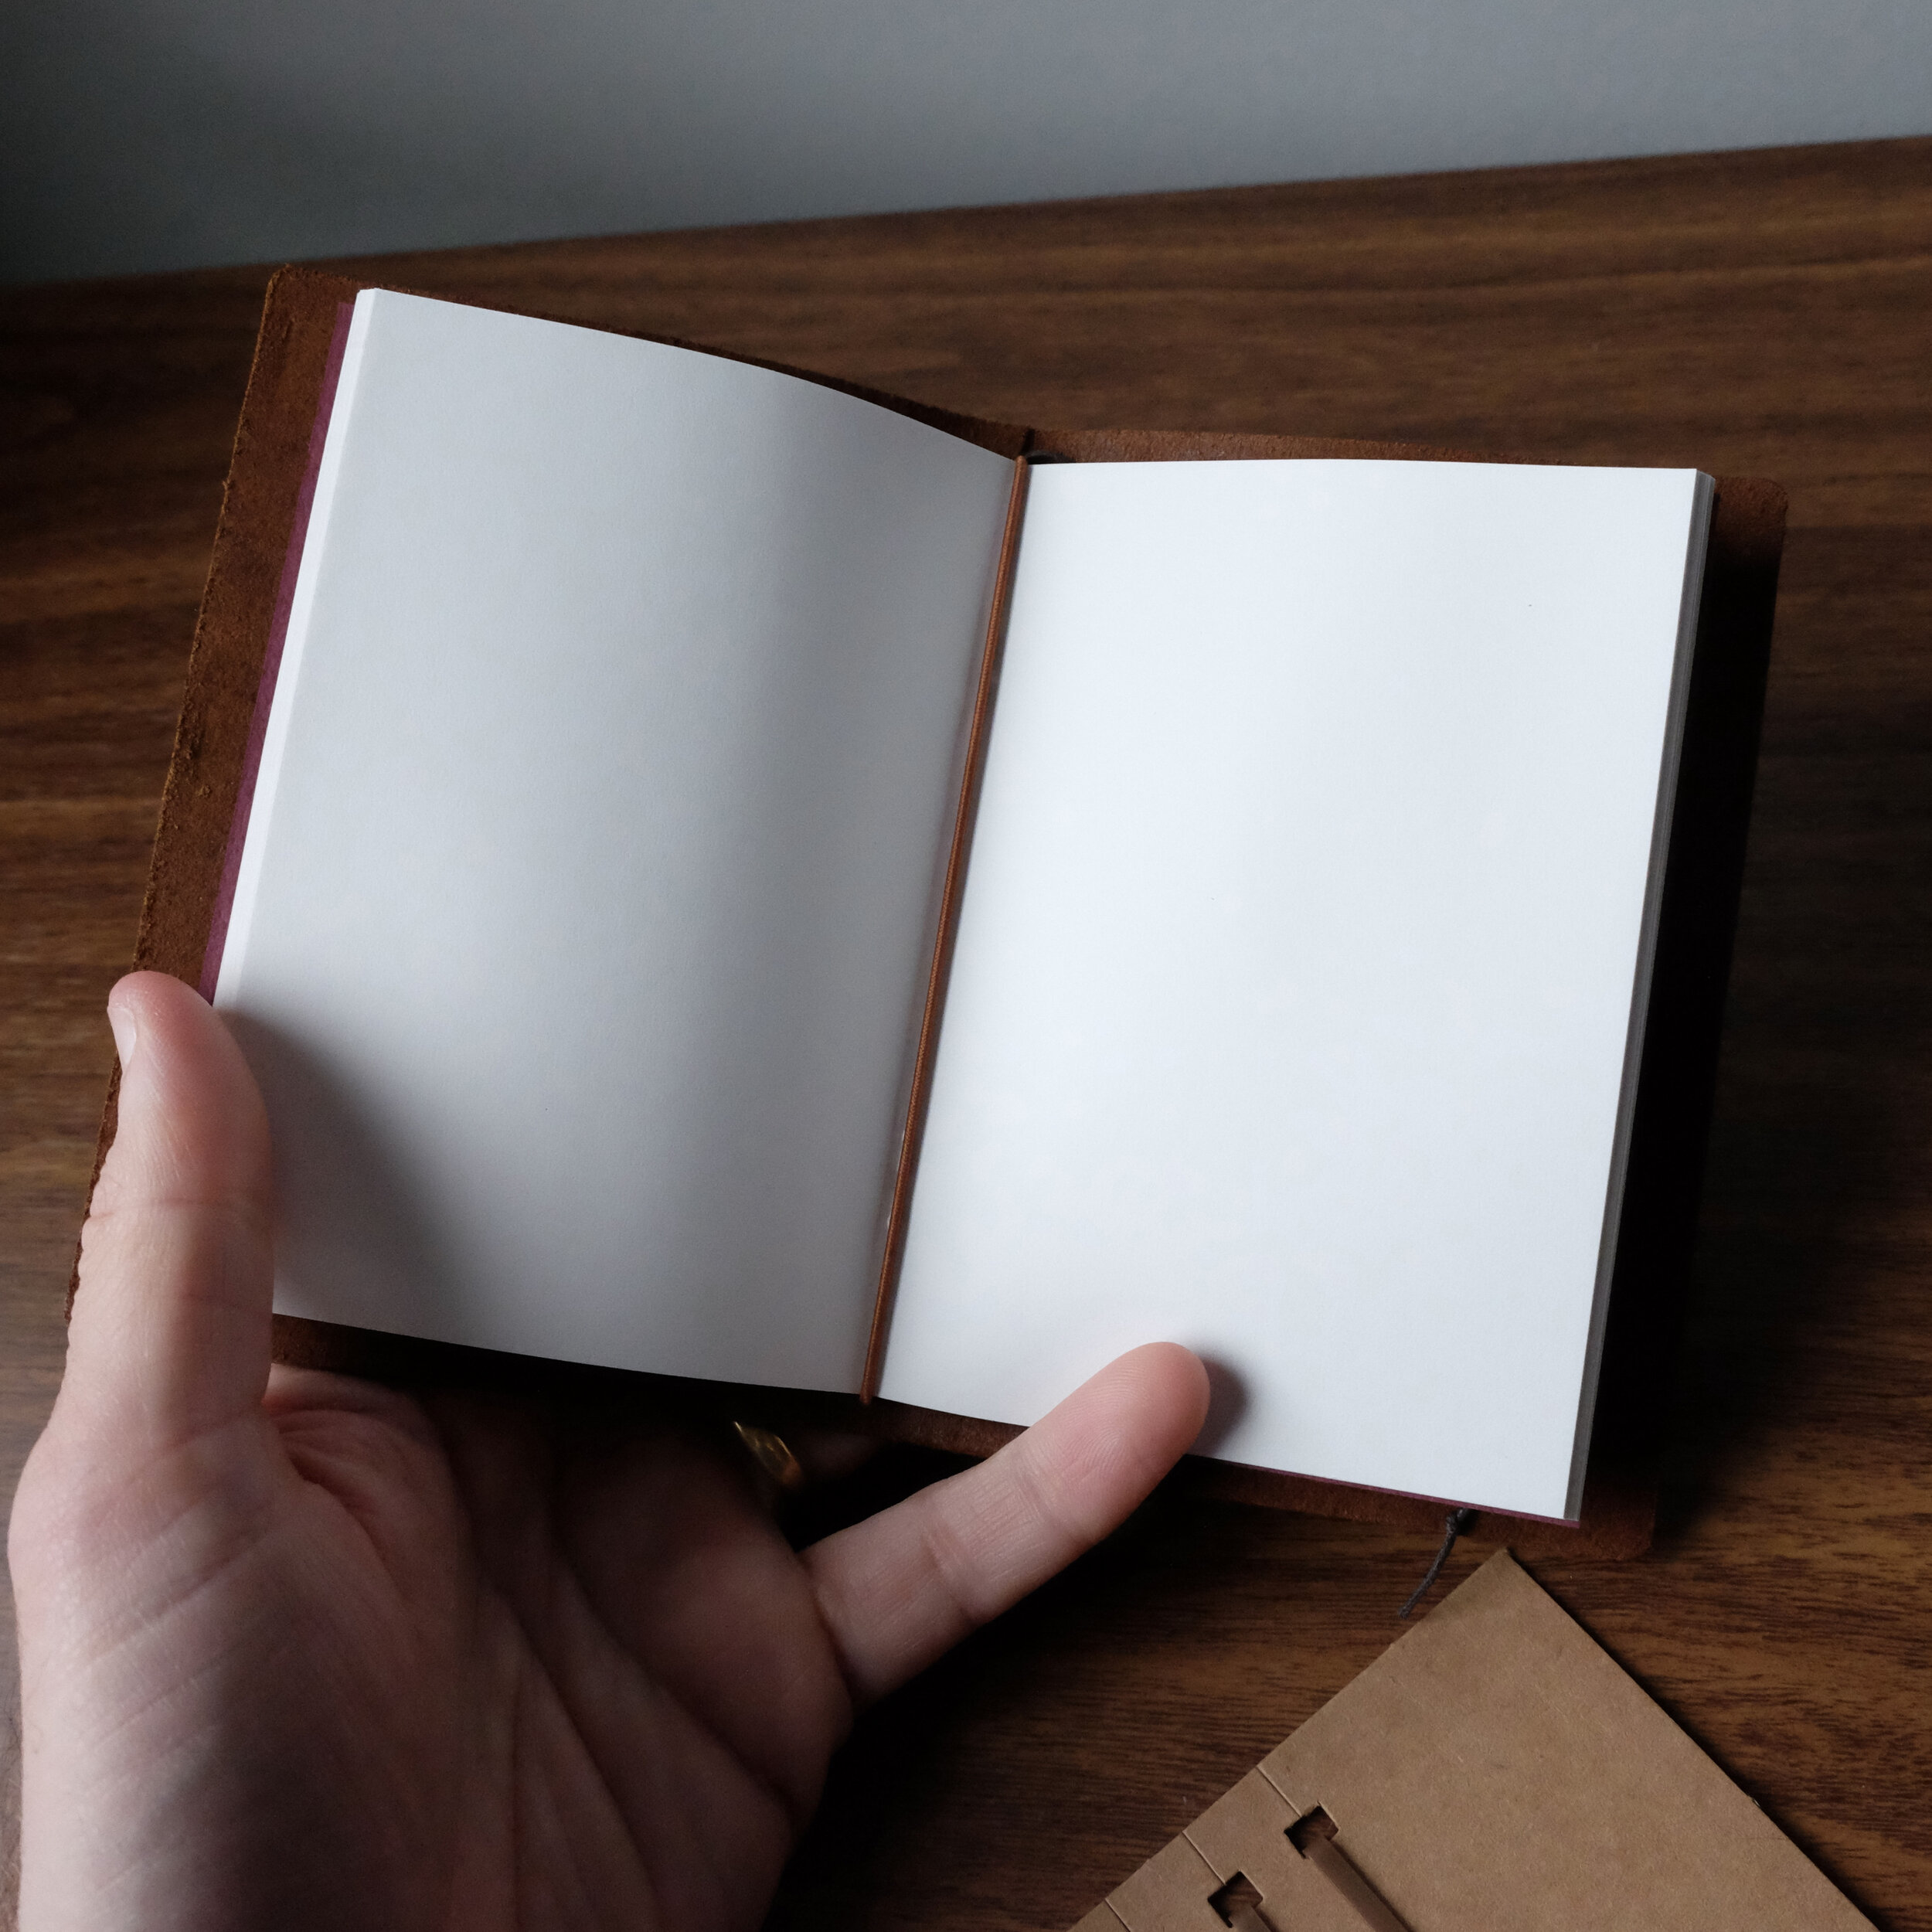
Changing out a single Traveler’s Notebook Refill is easy - just open the refill to the “staple page” and slip it under the center elastic cord. But most people will want to maximize this notebook system’s versatility. Read on to learn how to add more!
Collect Your Traveler’s Notebook and Supplies
In order to assemble a Traveler’s Notebook containing up to three refills, you will need three things: a Traveler’s Notebook, your three refills of choice, and a package of connecting rubber bands. For this demonstration, I’m using a Passport size Traveler’s Notebook in “Camel” leather, but the process is the same for the Standard size. Here, I will walk through three different setups: a Traveler’s Notebook with two refills, a Traveler’s Notebook with three refills, and a Traveler’s Notebook with three refills plus accessories.
Clockwise from top left: Traveler’s Notebook Connecting Rubber Bands, Traveler’s Notebook Passport in Camel, Blank MD Refill (included in the Traveler’s Notebook Starter Kit), MD Paper Grid Refill, and Tomoe River (“Lightweight” Blank Refill).
Connecting Two Refills
To set up a Traveler’s Notebook with two inserts, attach the first to the notebook cover using the elastic cord, the same as if you were going to set your notebook up with a single insert. Take your second refill and place it next to the first, closed spine-to-spine.
Next, open both notebooks to their respective centers. Holding the two covers together, as shown here, loop a connecting rubber band over both notebooks. In your original refill, the rubber band should sit alongside the elastic cord. That’s it!
A two-refill notebook is perfect for a planner + notebook setup.
Connecting Three Refills
To assemble a Traveler’s Notebook with three inserts, start by picking your three books and decide the order in which you want them to appear in the notebook. Place the first and third inserts back to back, and set the second one aside for the moment.
Open the first and third refills to their centers, and using a connecting rubber band, attach them as shown above, similar to how you connected the inserts in a two-refill notebook.
Close the two refills, and set them face-down on the inside of the Traveler’s Notebook Cover, spine-to-spine and connected by the rubber band.
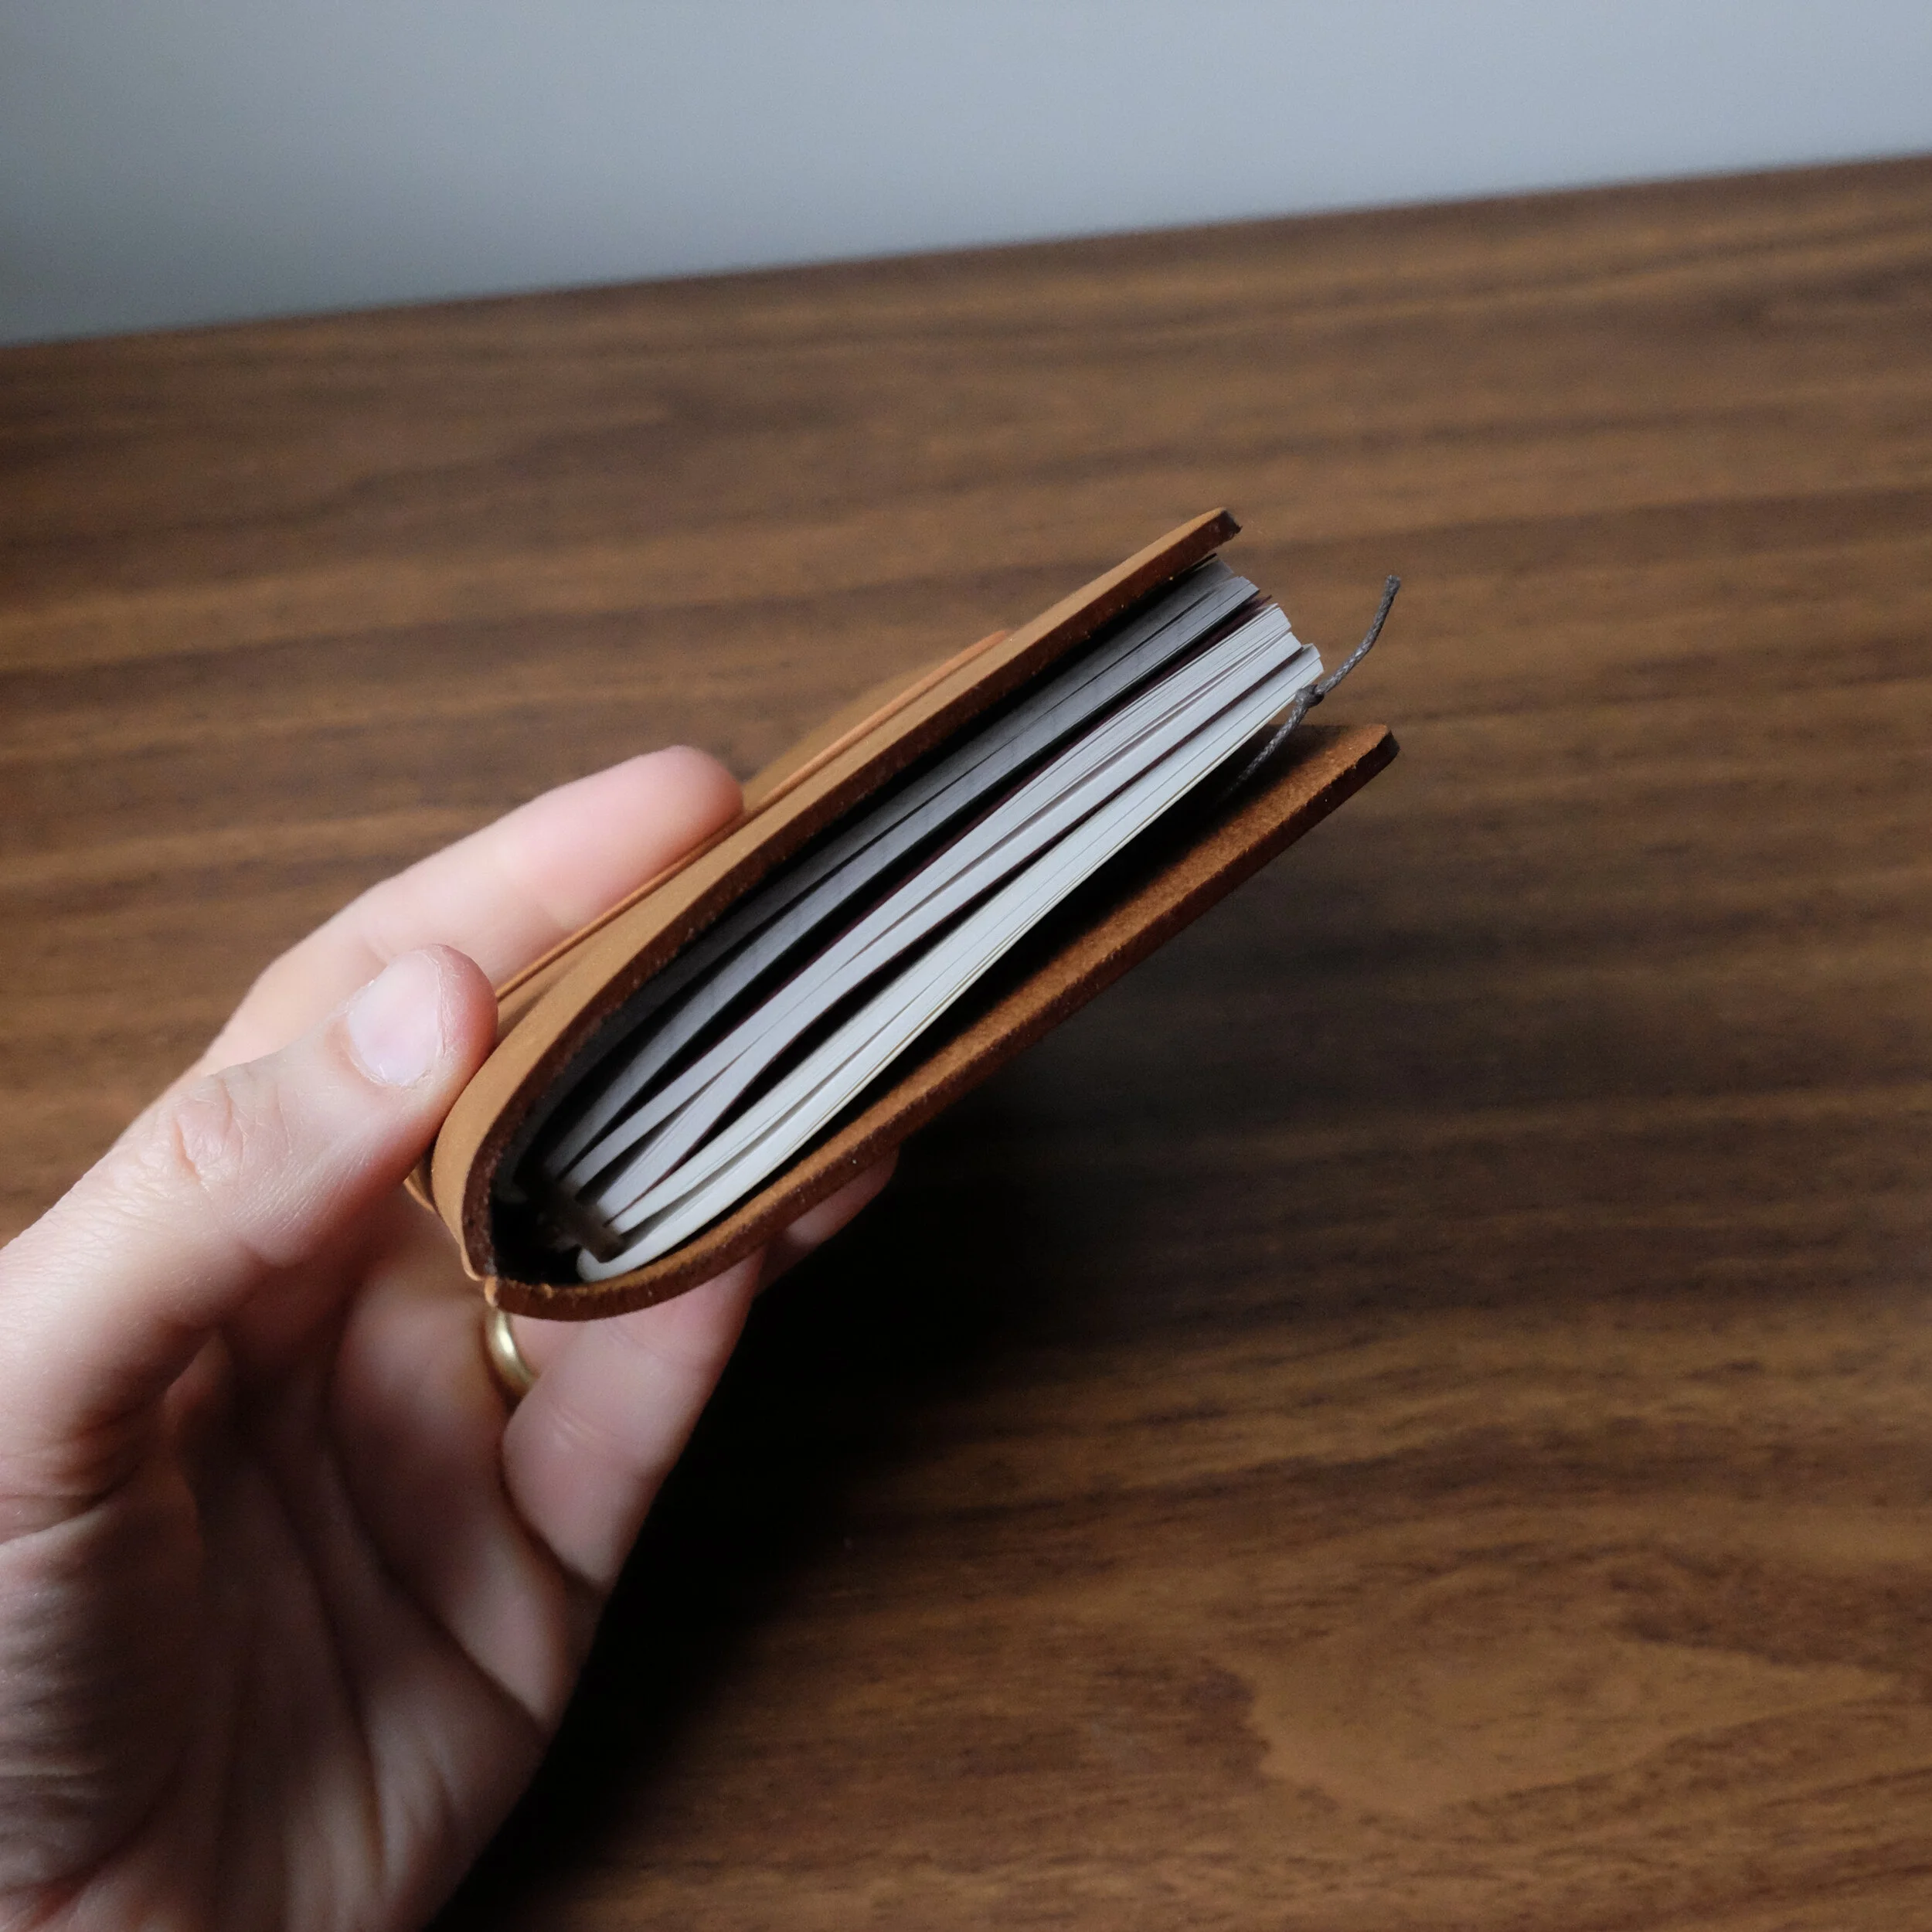
Gently pull the two notebooks apart, and pull the elastic cord up between the two refills. The connecting rubber band should be just loose enough to allow you to do this easily.
Slip your middle refill underneath the center elastic cord. There! You’ve now secured three refills inside.a Traveler’s Notebook!
Adding Accessories
Your Traveler’s Notebook is only limited by how thick you want it to be. In addition to three refills, connected as demonstrated above, I’ve included a PVC Zippered Pouch and a set of TRC Sticky Notes on my Standard Size Traveler’s Notebook.
Attaching the PVC Pouch is pretty easy. I simply slid the pouch underneath the refills through the main elastic cord.
I then attached the Sticky Notes to the PVC Pouch using another connecting rubber band.
The Sticky Notes insert is actually a slim folio, with a think PVC cover to protect your unused stickies. Open the folio and slip the connecting rubber band over the cover and the PVC pouch, much the same as you would connect two notebook inserts.
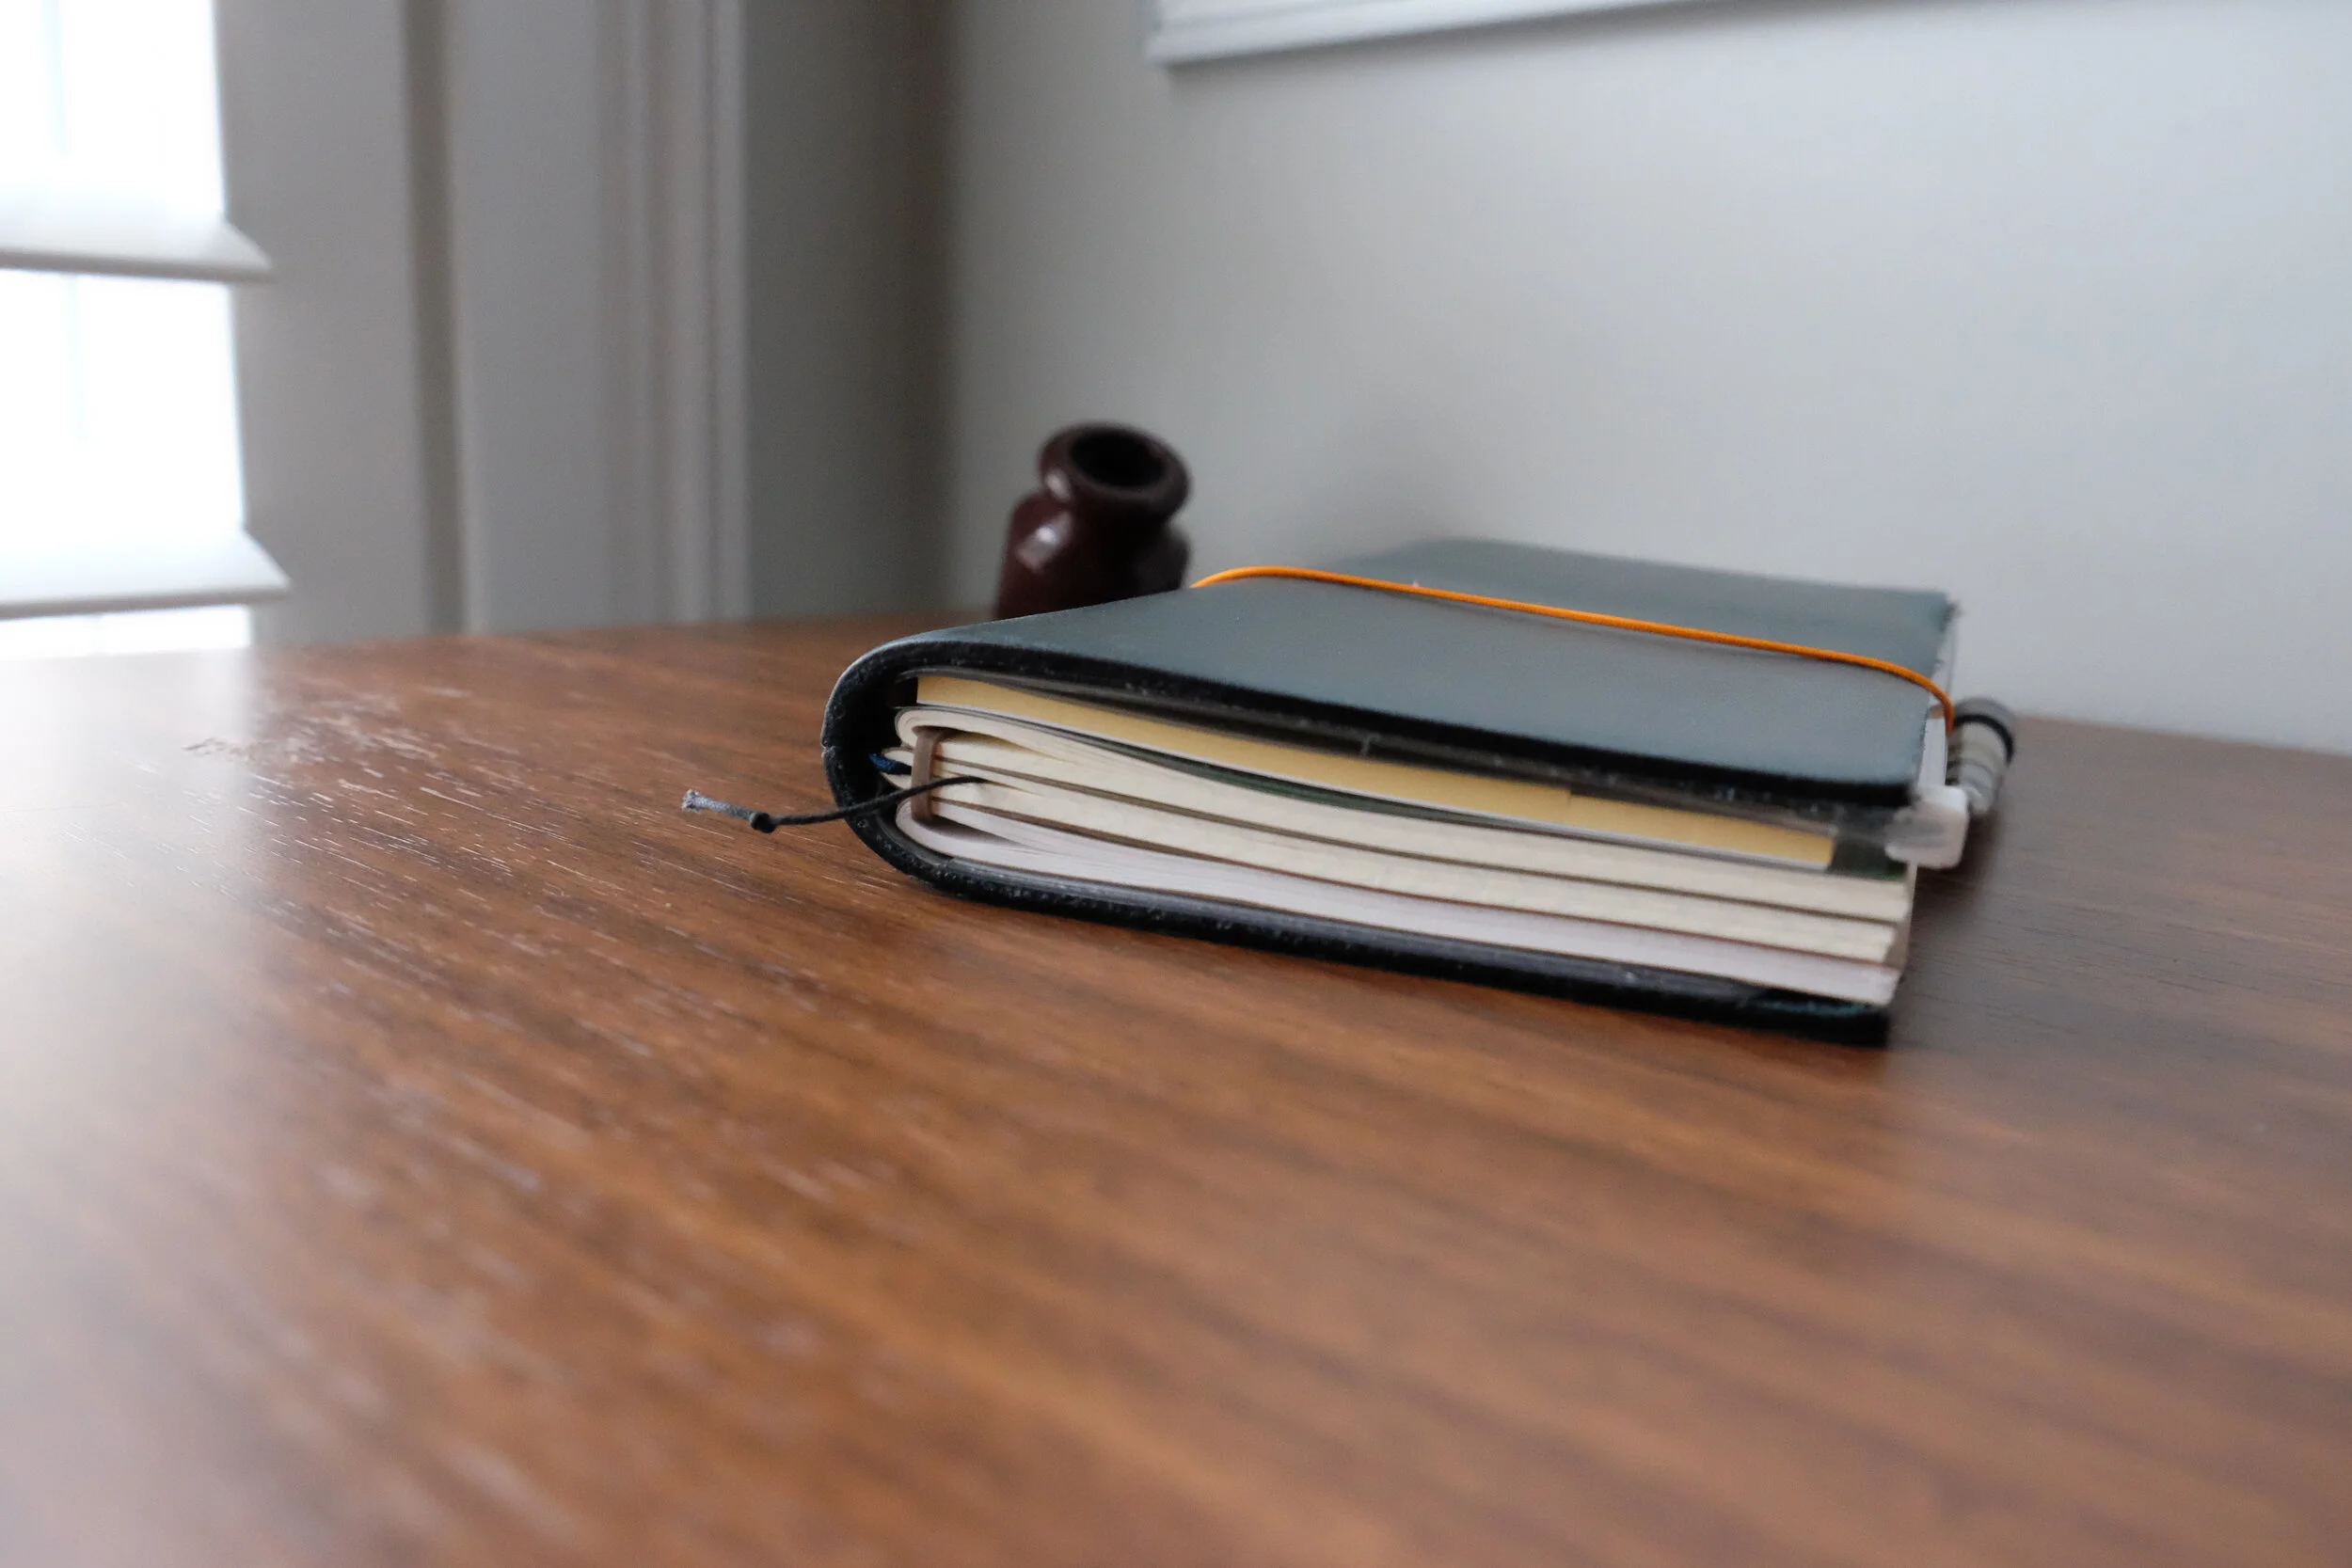
My current Standard Traveler’s Notebook is set up with three paper inserts and two accessories - in other words a total of FIVE refills + accessories. This obviously increases the thickness and weight of the notebook, but it also transforms it into a powerful all-in-one tool.
Traveler’s Notebooks and Accessories in the T.G.S. Curated Shop
All of the Traveler’s Notebooks, refills, and accessories pictured here are available for purchase in the T.G.S. Curated Shop. As an authorized Traveler’s Company retailer, we carry Notebook Starter Kits, MD Paper Refills, Planner Refills, Specialty Paper Refills, and Accessories, in addition to TRC Brass products such as pen cases, rulers, and clips. Please feel free to reach out through the site if you have any specific questions about Traveler’s Notebook products and how to use them. If you’re interested in reading further on my own Traveler’s Notebook setup, check out this recent post in which I walk through the standard setup pictured here.