• Blog
  • Shop
  • Resources
  • FAQ (Ask TGS)
  • About
  • Archive
  • Contact
  • Sign In My Account
Menu

The Gentleman Stationer

Vintage Living in the Modern World.
  • Blog
  • Shop
  • Resources
  • FAQ (Ask TGS)
  • About
  • Archive
  • Contact
  • Sign In My Account

Practical Planning: How I Use Planners

August 13, 2022

Somewhat surprisingly, two of the products that received the most interest at this year’s D.C. Pen Show were the two undated planners we had at the table: The Write Notepads Weekly Planner, and the Planner Desk Pads from WMS & Co. I learned two things this weekend about interest in planners: People LOVE having the option of an undated style, and there are many, many people who would love to use a paper planner but are somewhat intimidated by “Planner Instagram” and the ornate bullet-journal style planners that dominate online. Well, I’m here to tell you that doesn’t need to be the case!

Two undated planner options: Write Notepads (top) and WMS & Co. (bottom).

My Planners Are Objectively Ugly, and I’m Fine With That.

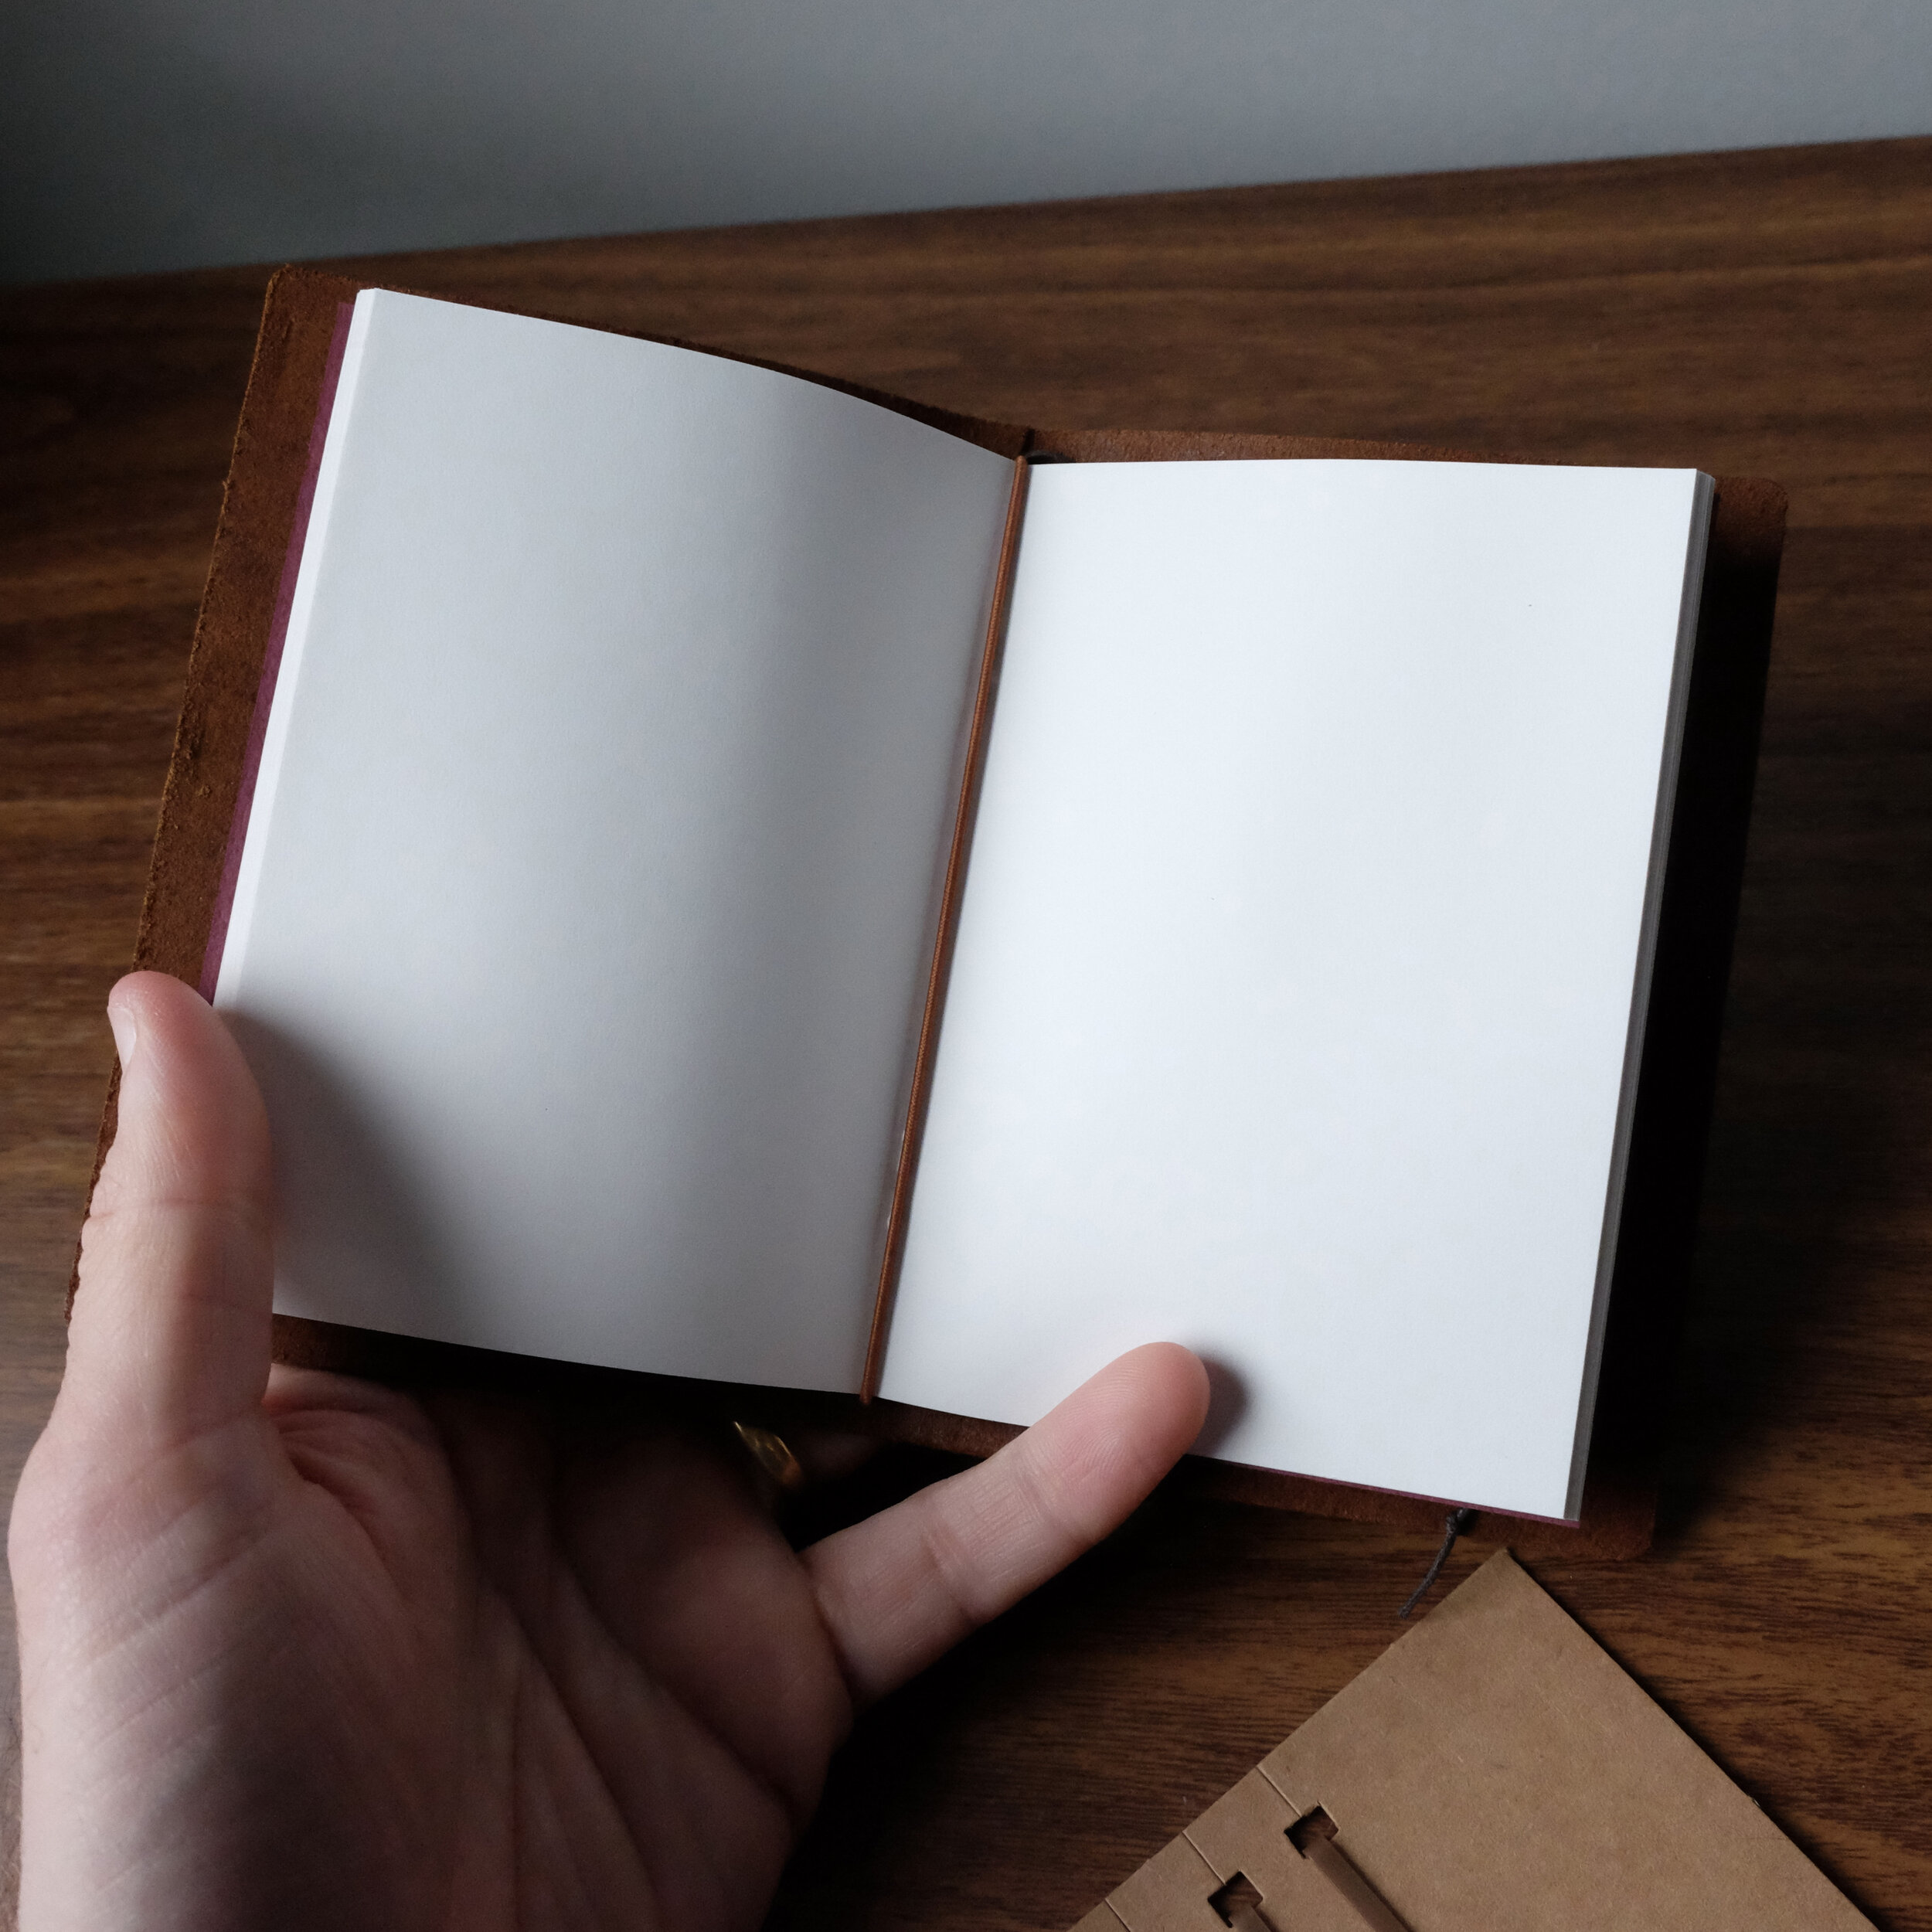
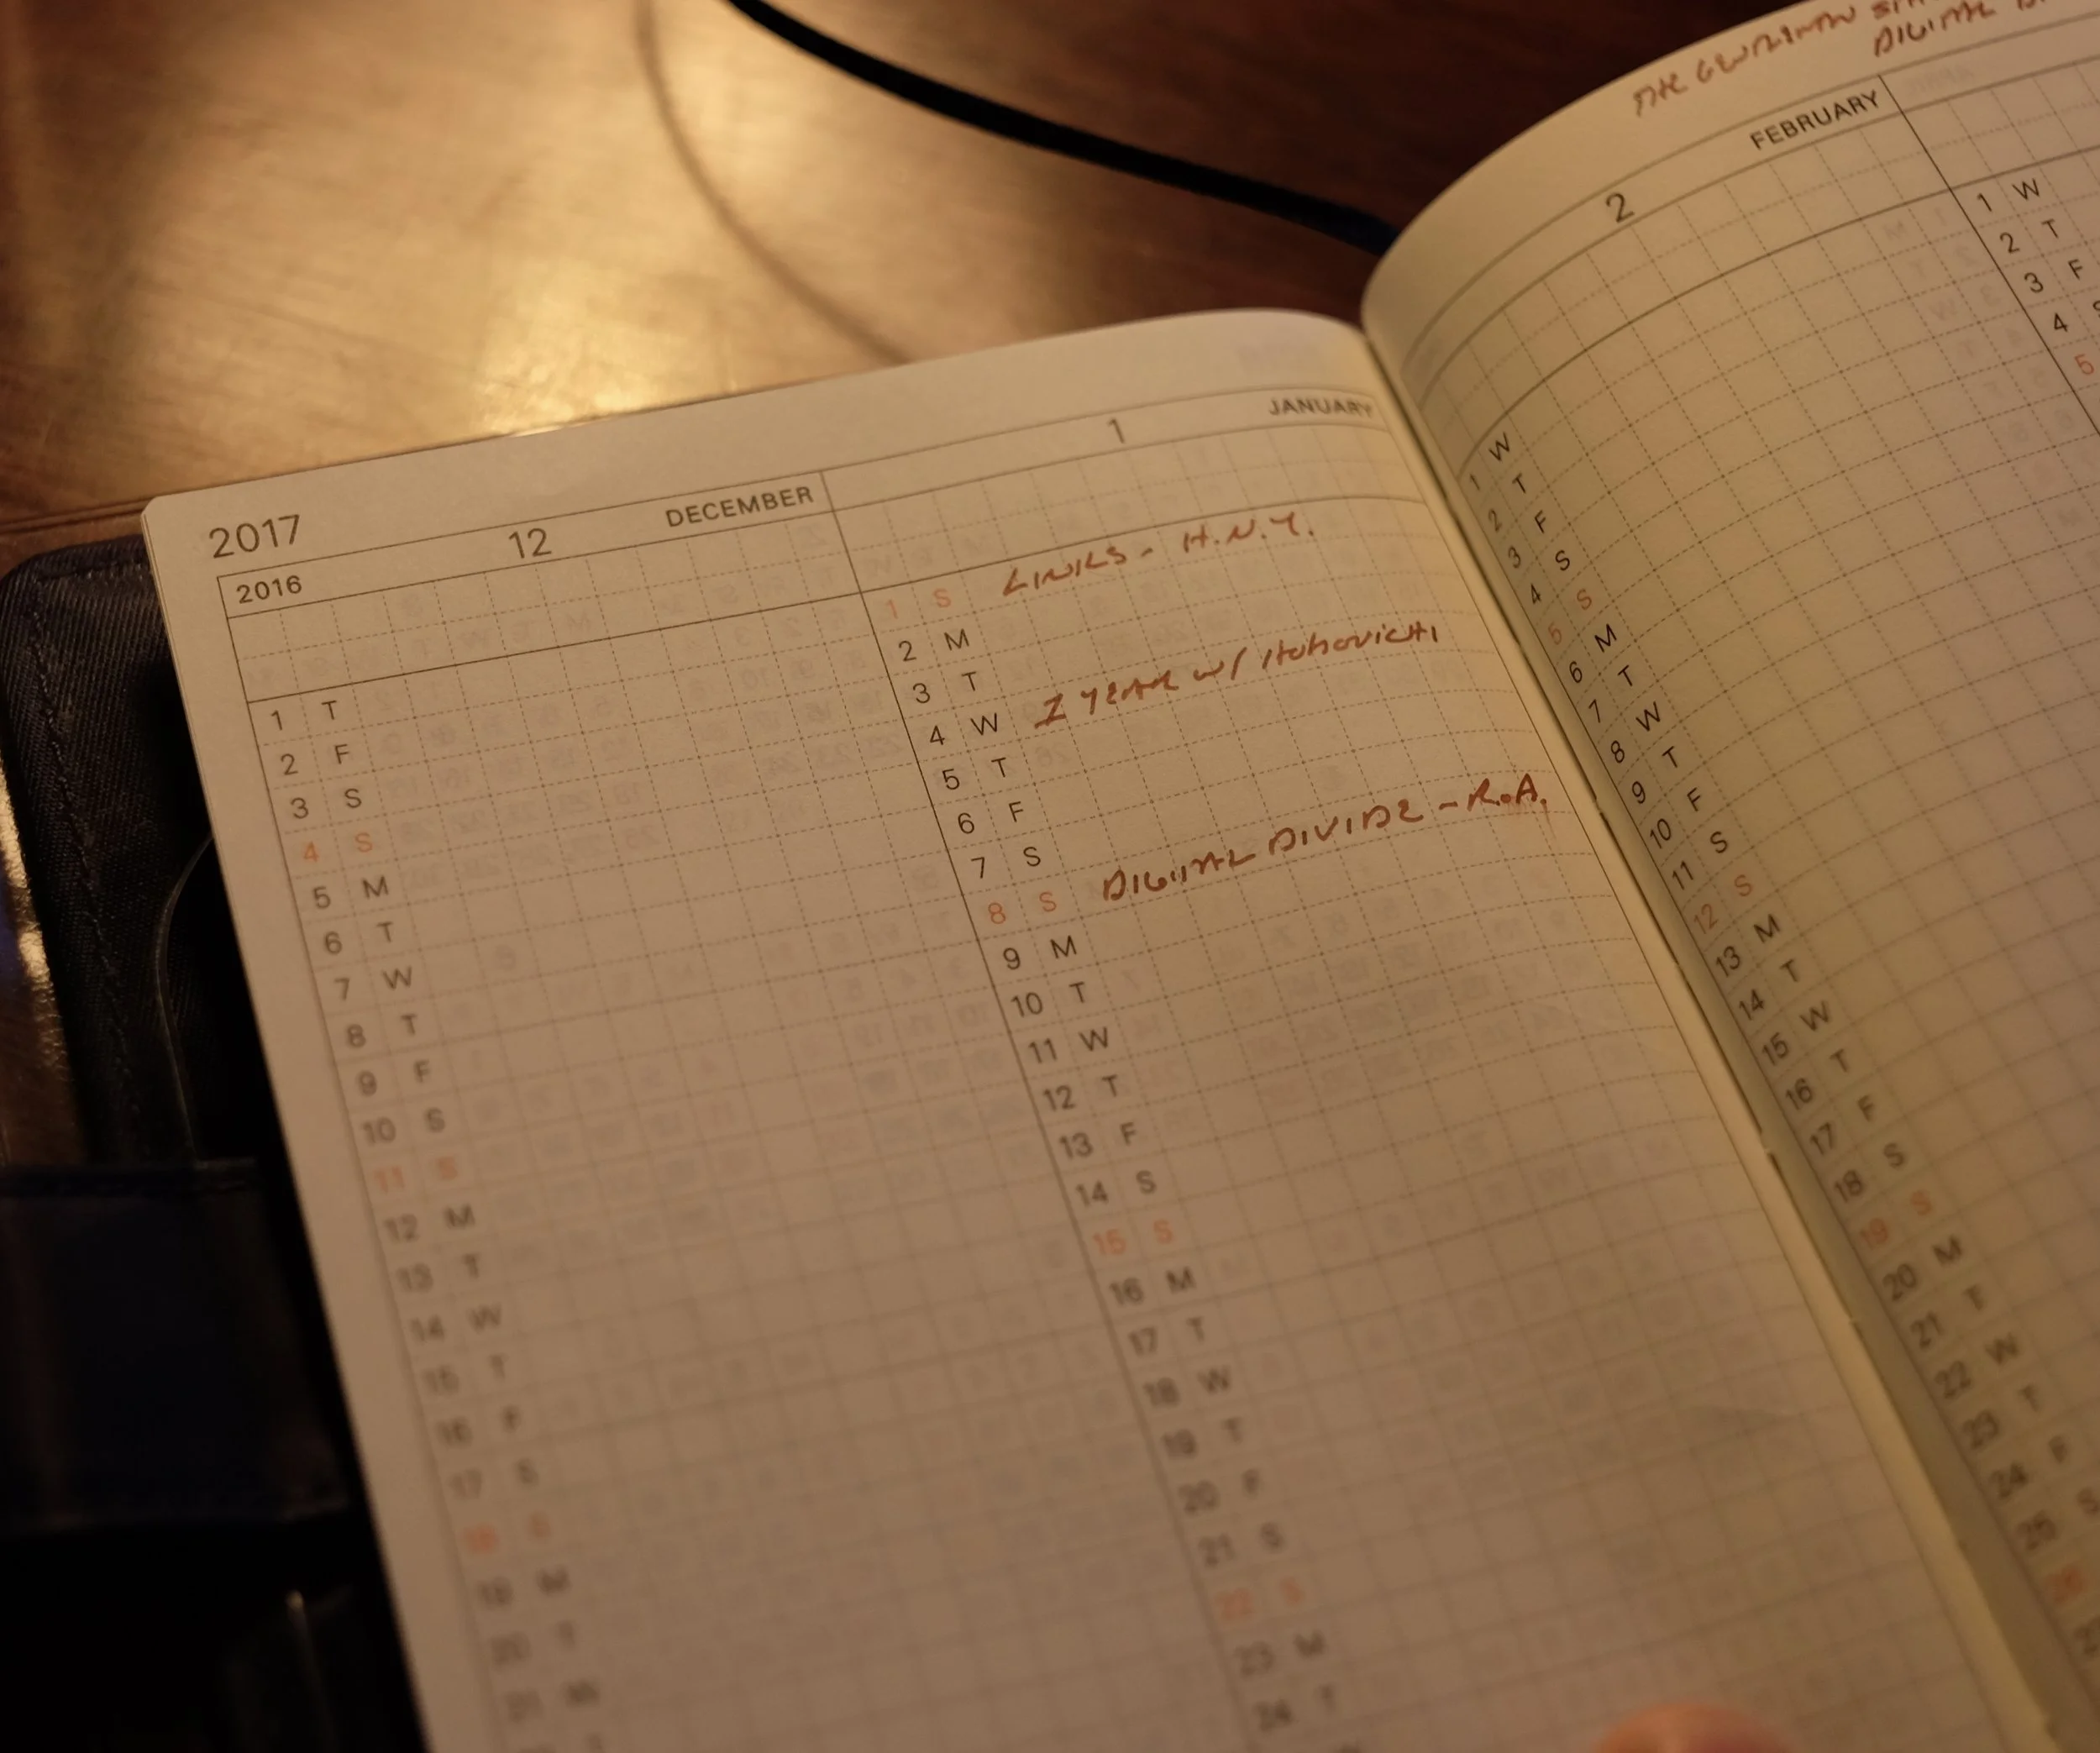
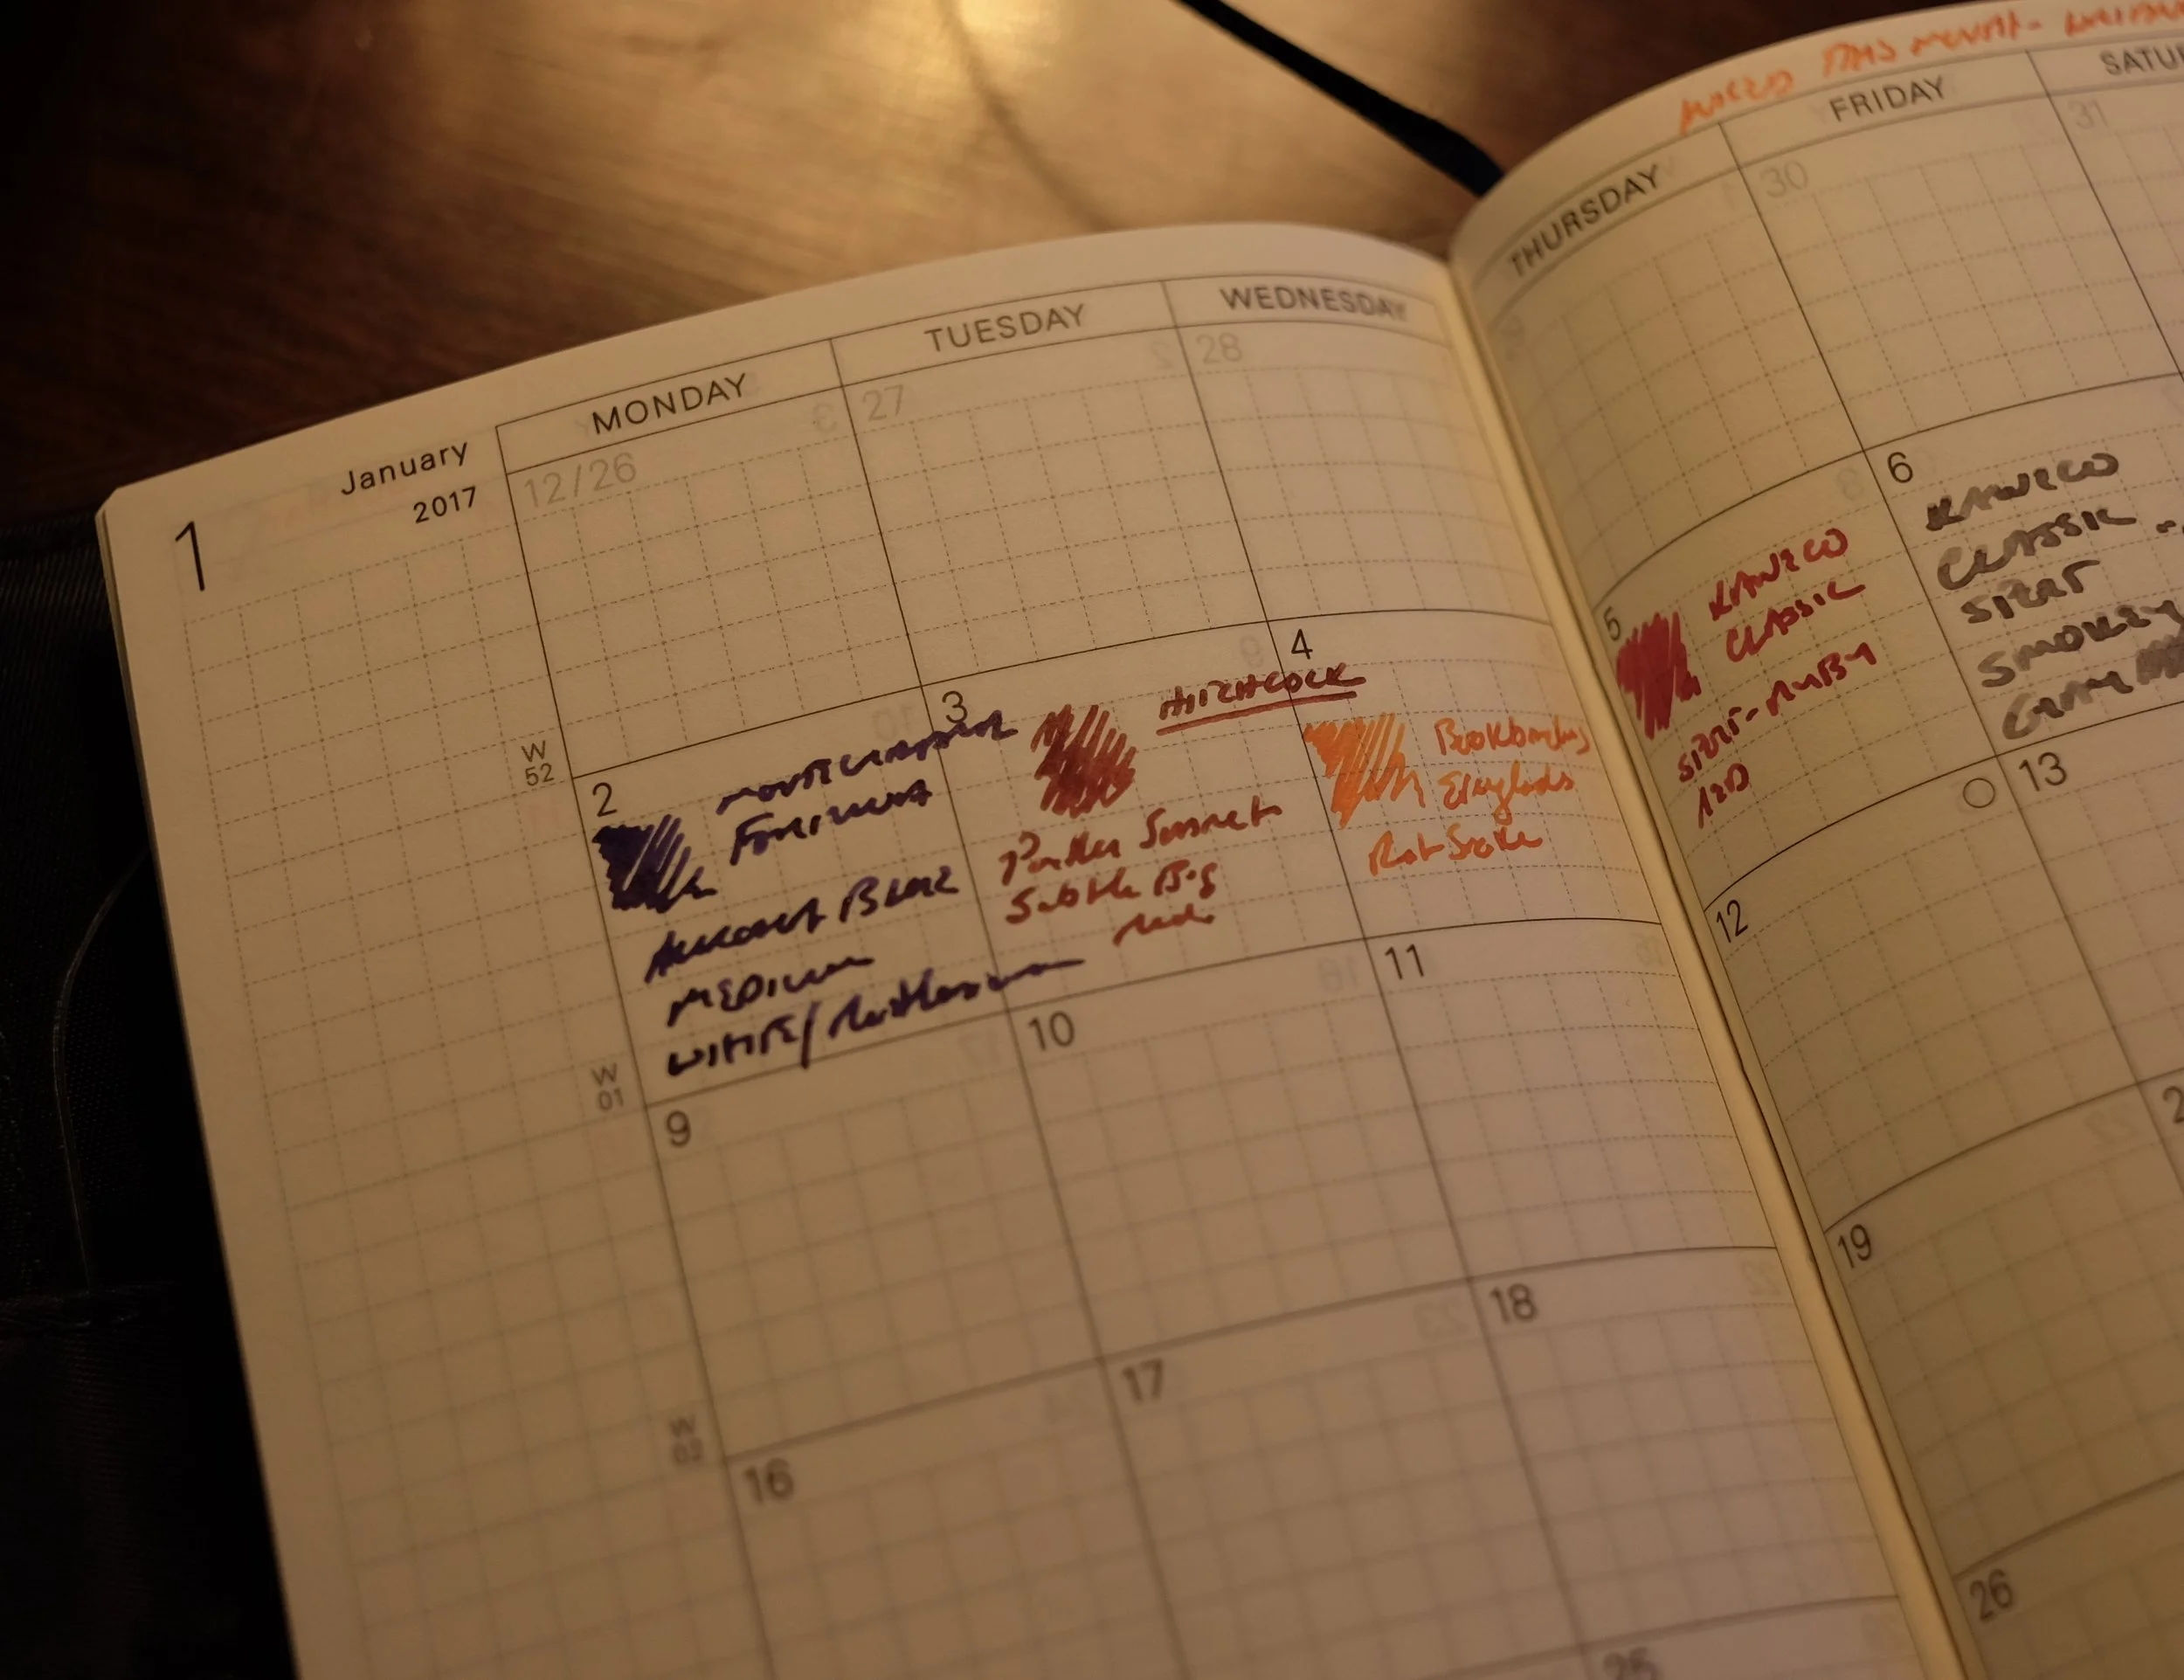
Personally, I stick to a practical approach to planning that focuses on task management. First, I don’t keep a paper calendar to manage appointments or deadlines, at least for work stuff. (It’s much easier to use an electronic calendar when you have to coordinate with multiple teams and other people need the ability to see your schedule and make changes to common events.) I do, however, use the Write and WMS & Co. “weekly layout” pages to generally sketch out my week, typically in a list or bullet-style format that allows me to think through what I want to accomplish on each day. This is 30,000-foot level planning stuff that I do on Sunday afternoon and quickly revisit each morning - I very rarely go back to these “planners” after the week is over, and since the WMS & Co. is a tear-off pad, I usually just shred the calendar page after I’m done. If there are notes I make to myself that I want to retain, I’ll transfer them to another notebook or my laptop.

The Keyboard-sized WMS & Co. Planner fits perfectly underneath my Macbook Air (as well as my full-size keyboard that I use at work). I also like the narrow ruling - I write small.

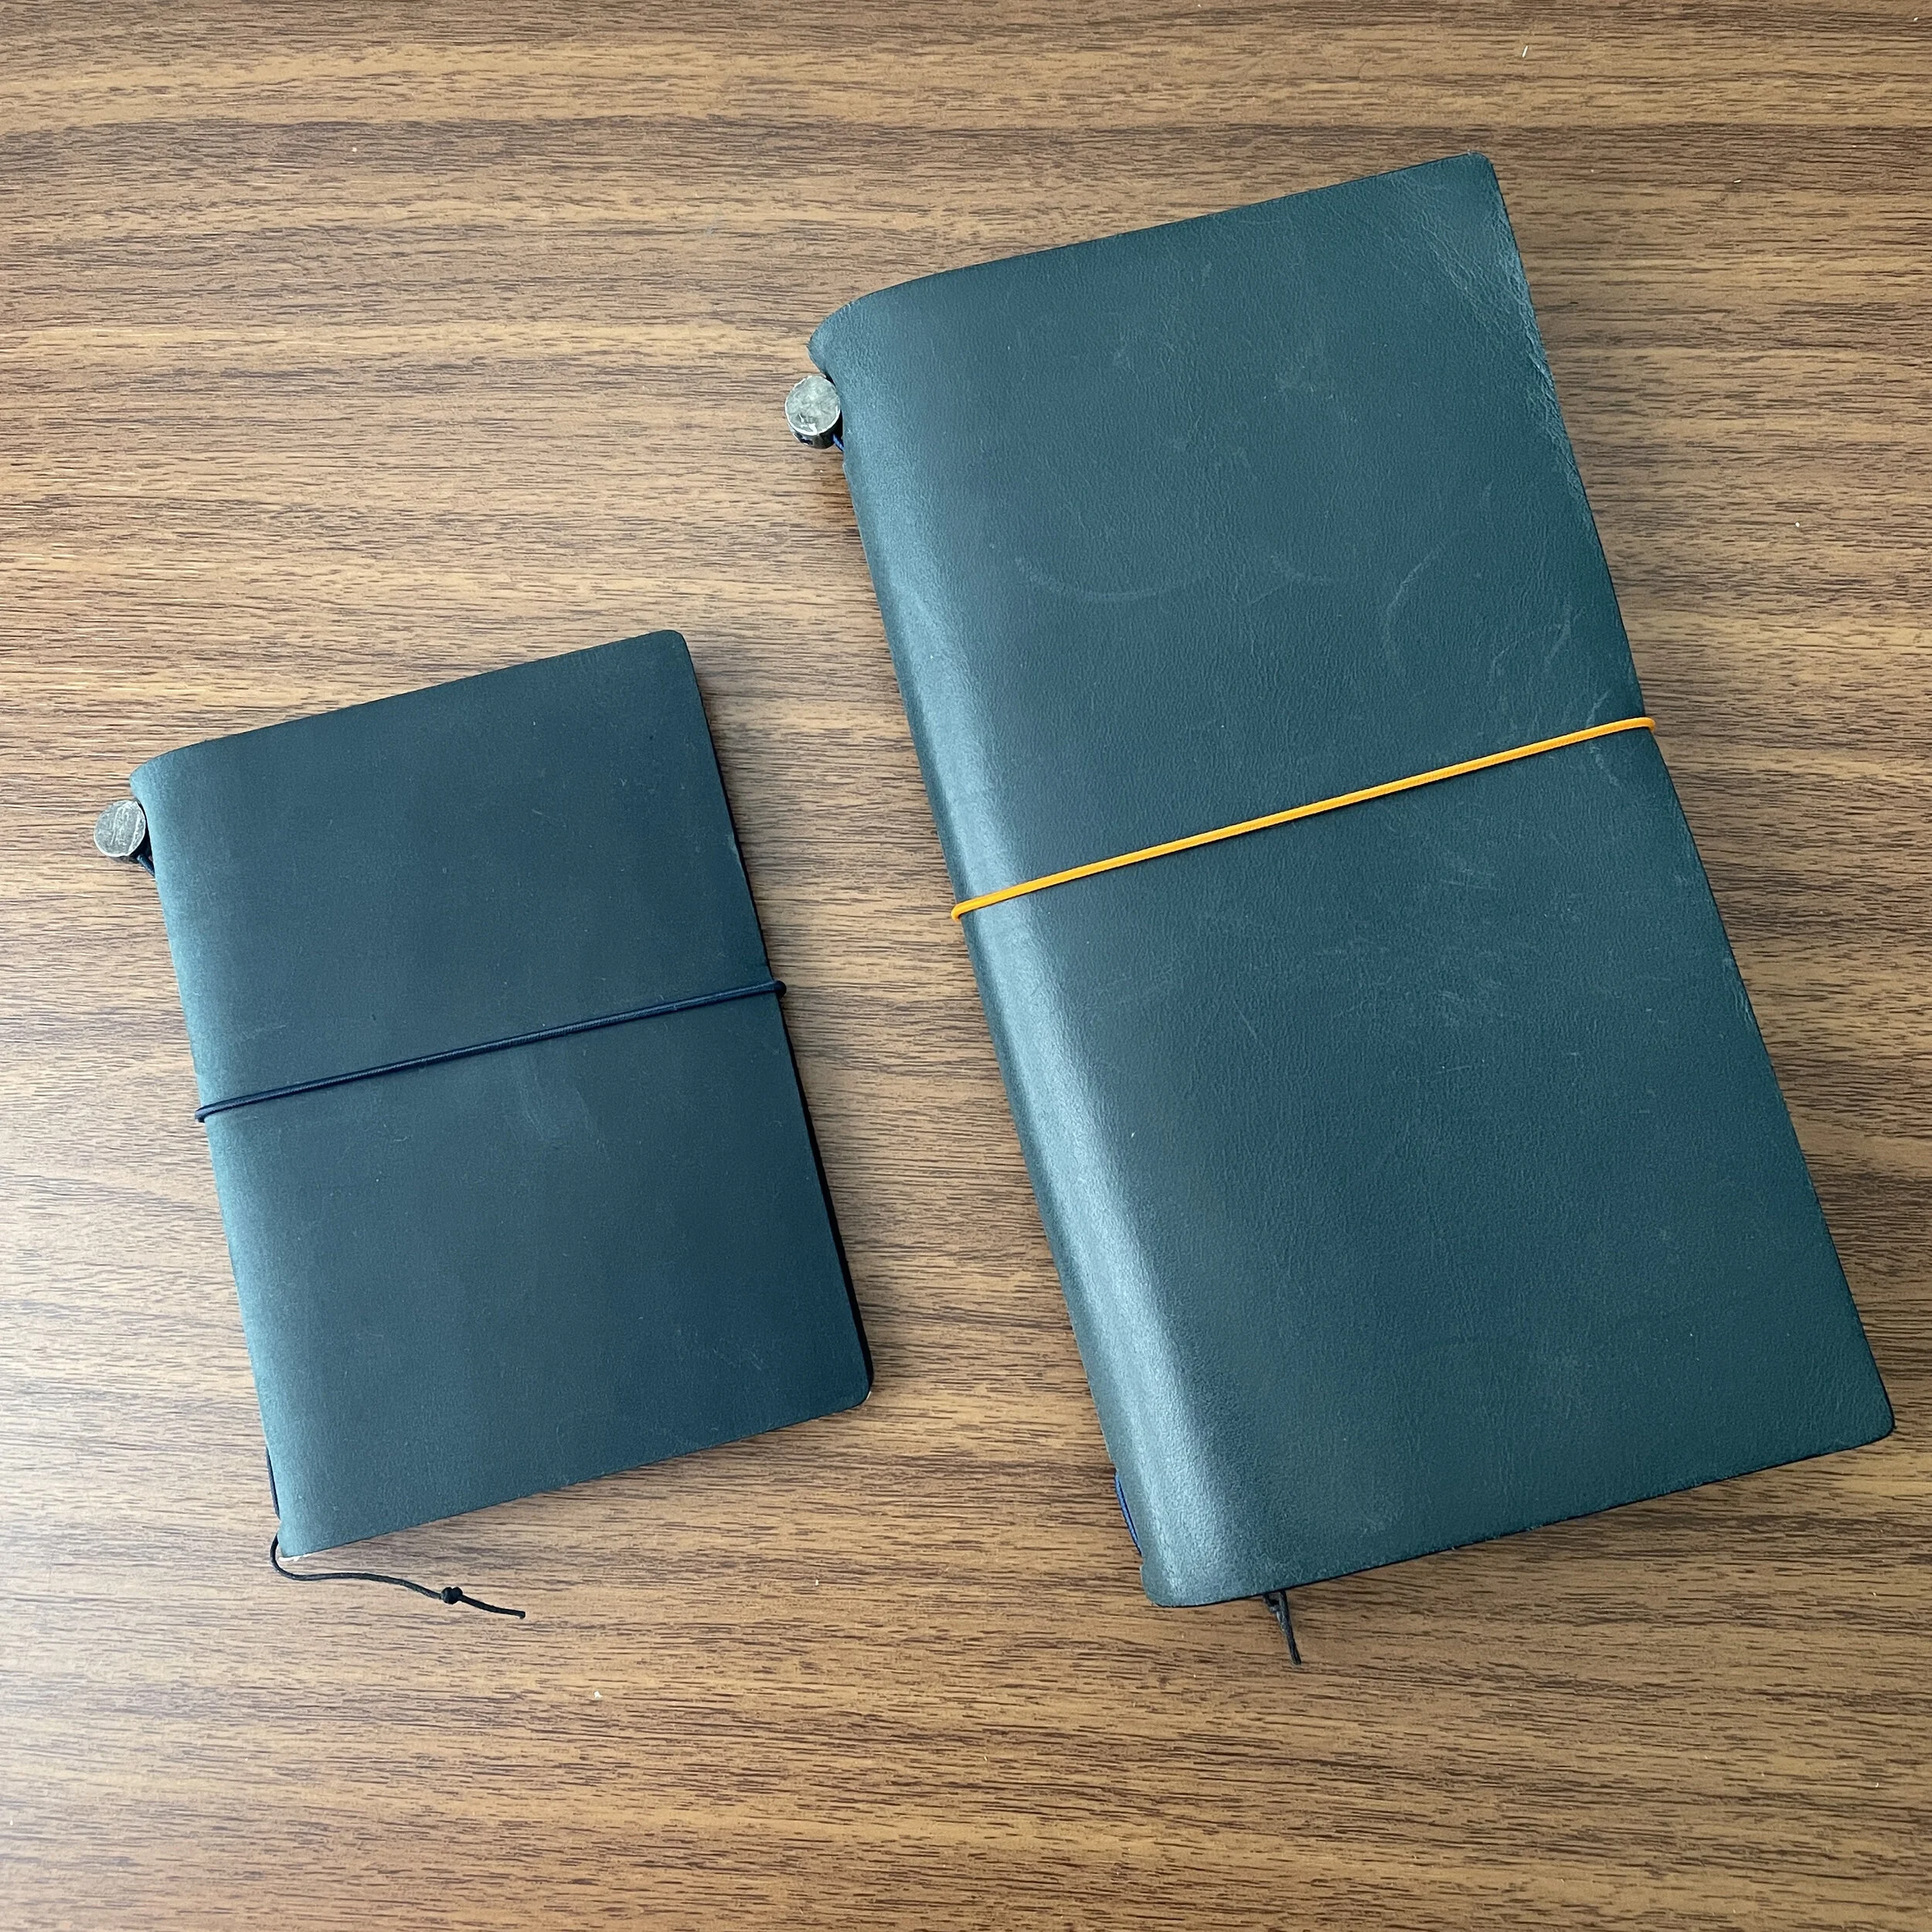
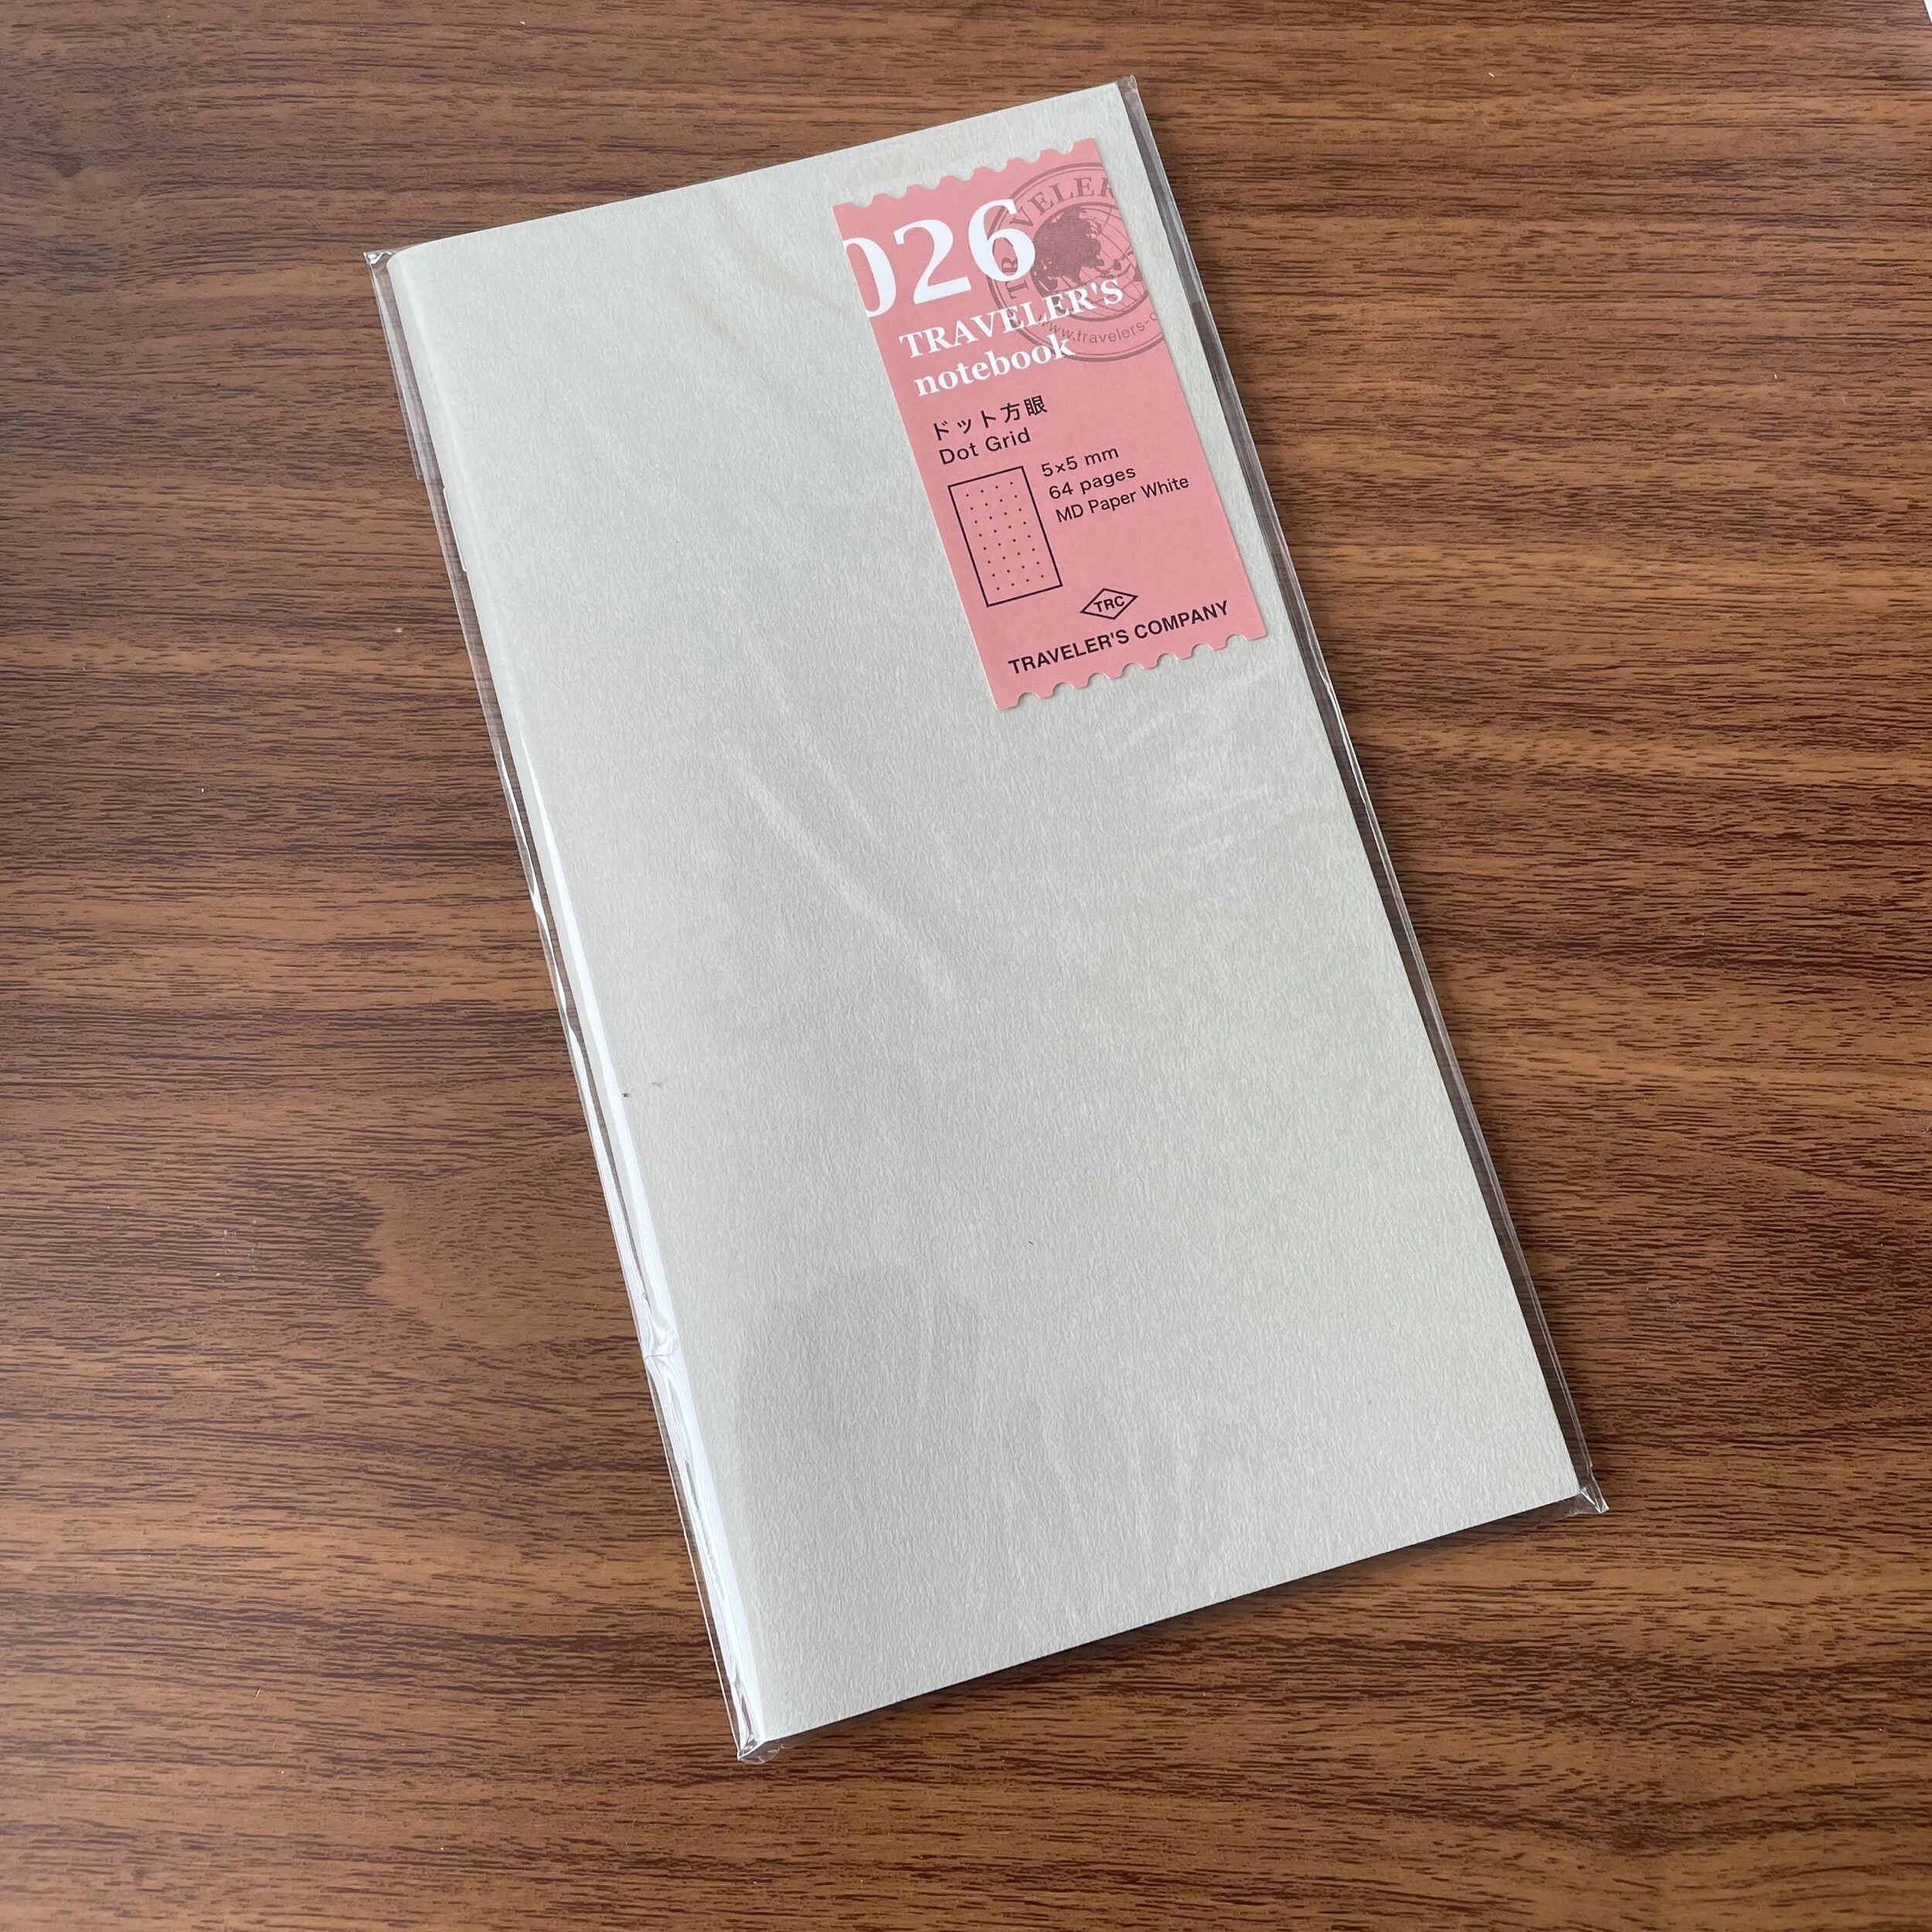
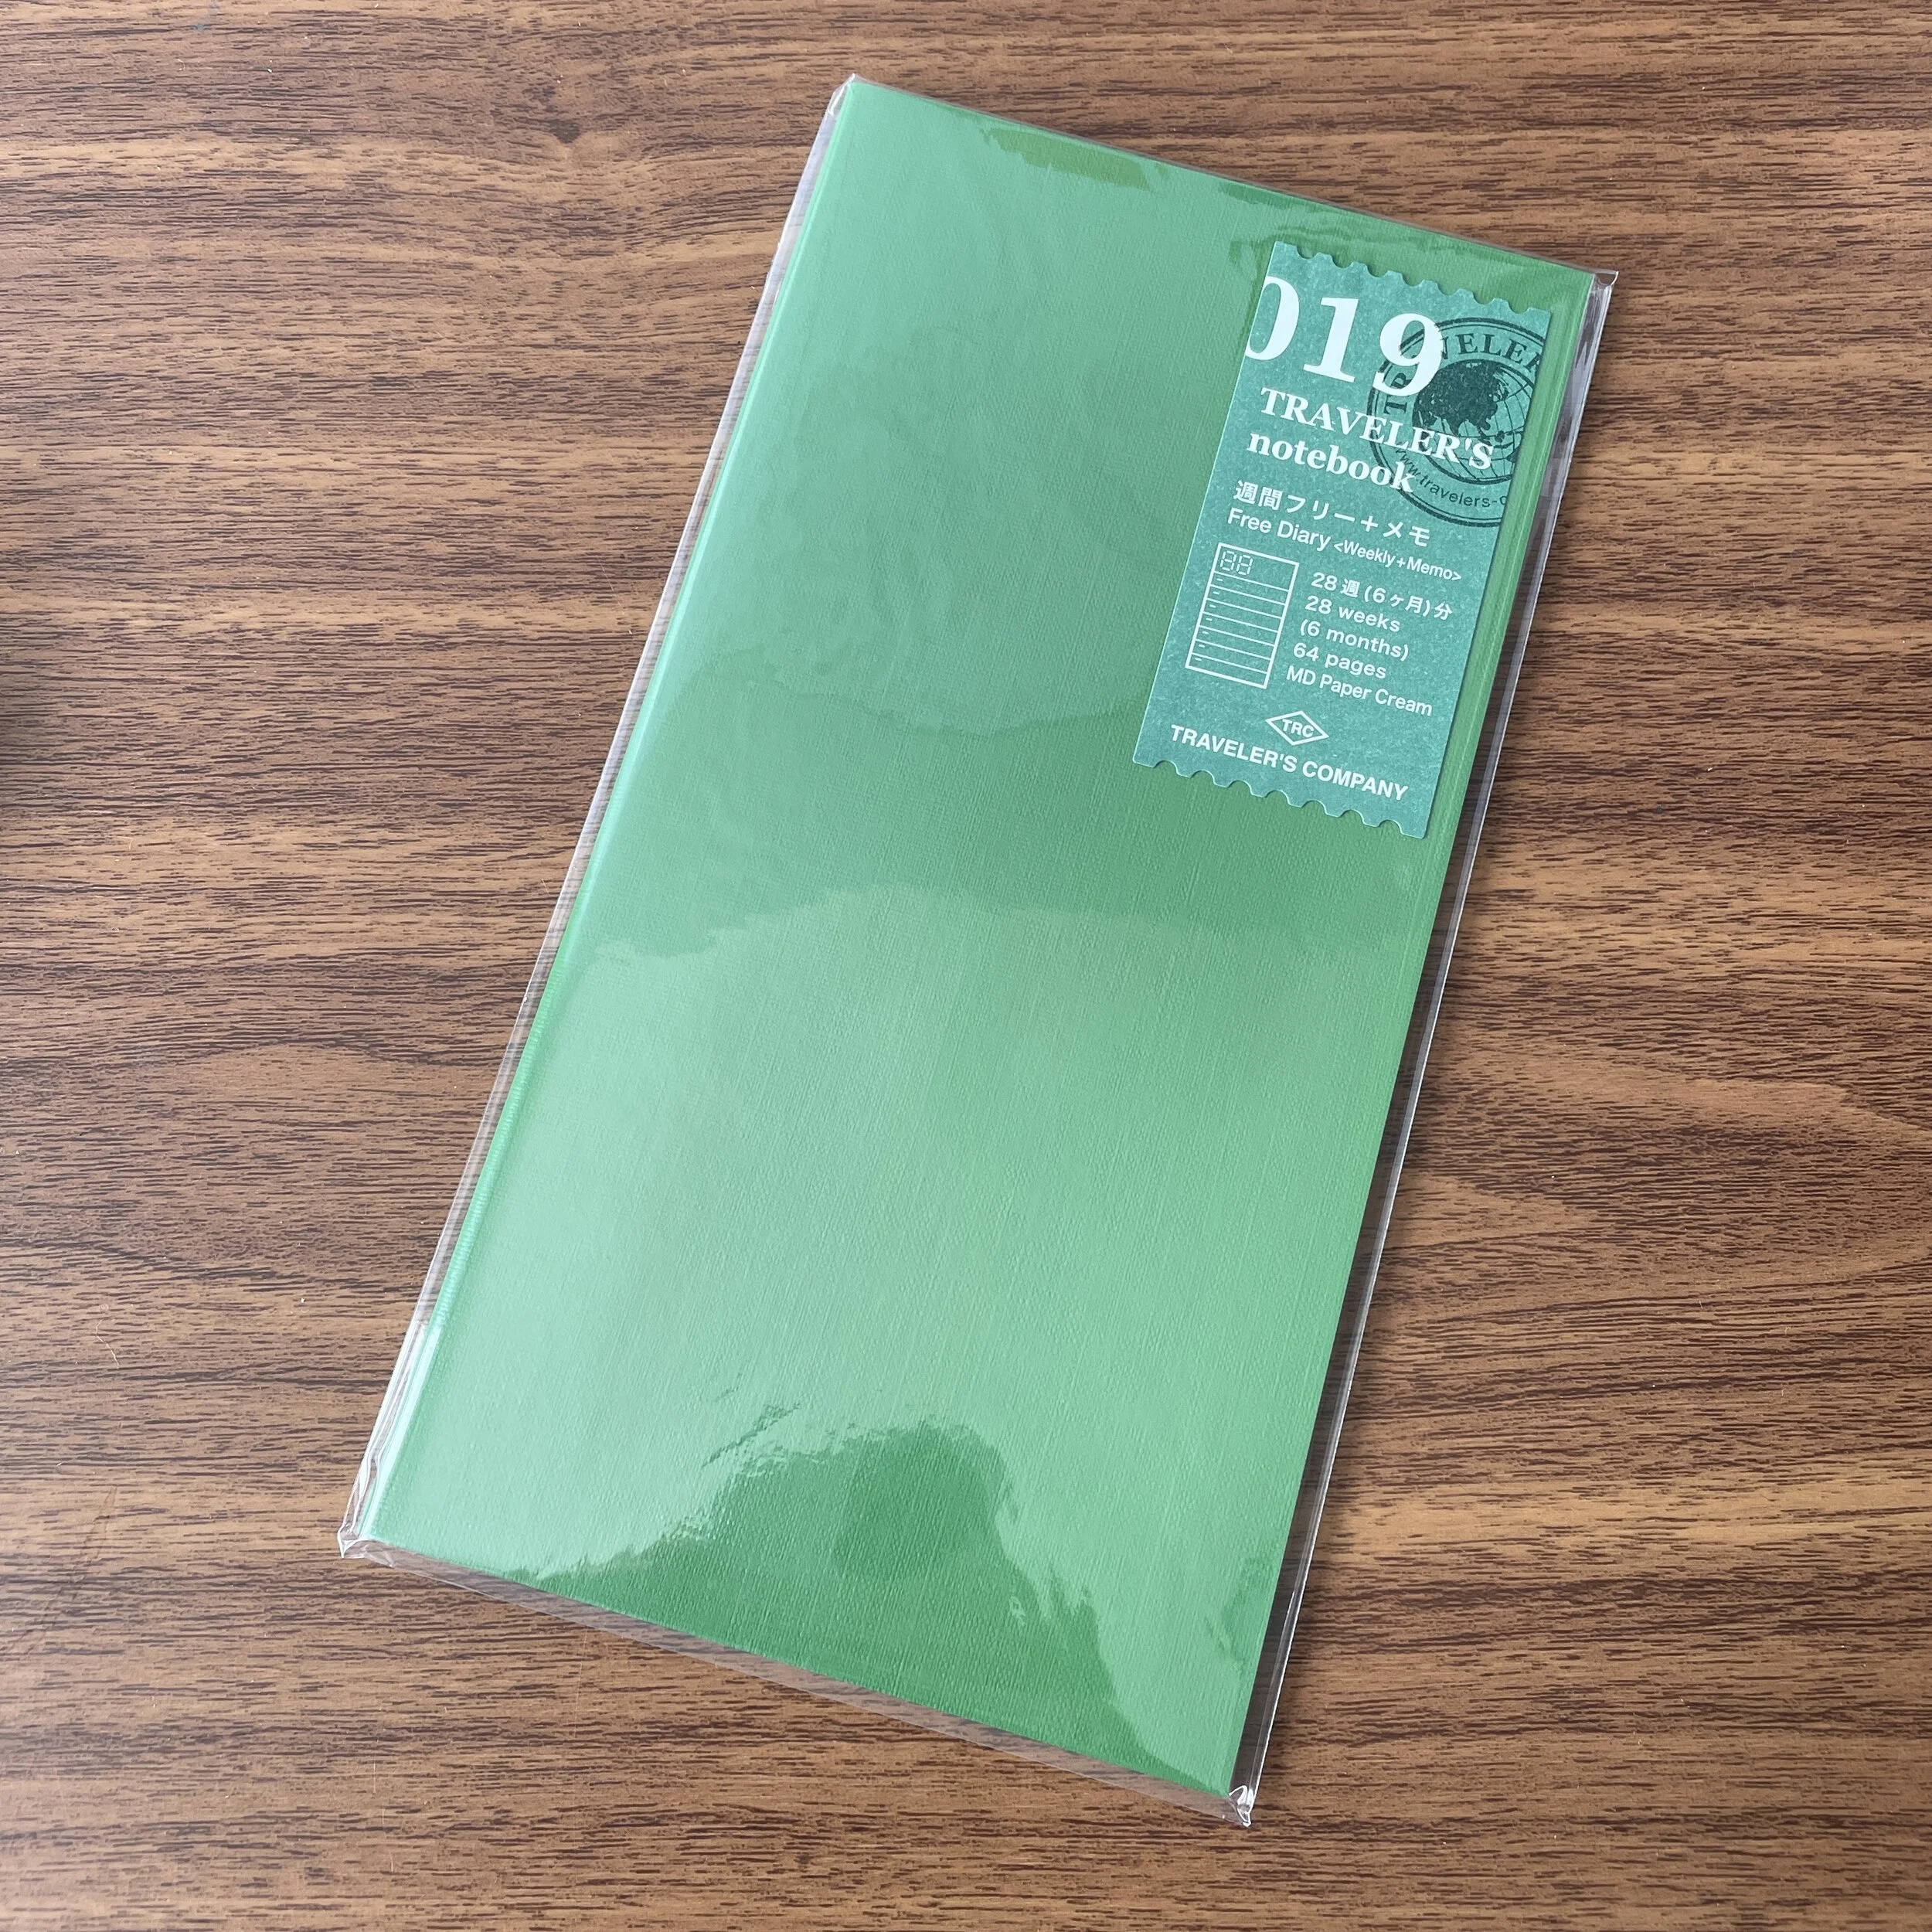
I keep another “Bullet Journal”-style notebook that is more “work journal” than “planner”, which currently lives in my blue Standard Traveler’s Notebook containing a cut-down Stalogy 1/2-year and a homemade Tomoe River refill. In the Stalogy (which has lasted for just under a year and will likely need to be replaced next month), I have the notebook tabbed by numbered month using these inexpensive Midori numbered labels, with the first page of each month containing a Midori MD Diary sticker, followed by a “monthly task list” page. [Note: Obviously, I can’t show you an actual page of this journal in use because I would literally have to redact EVERYTHING and it wouldn’t be useful at all.]

While I don’t track deadlines and appointments on paper, I still find it helpful to have one of these planner stickers at the front of each monthly “section” in order to visualize the month and block off dates when I am out of the office, traveling, or needing to focus exclusively on certain things.

I use the “Monthly Tasks” page to track, in list format, projects and open items that come up as the month goes on. It’s a running list, and one of the reasons I enjoy the Traveler’s-style layout is that the long, narrow page is conducive to this type of task-tracking and list making. Even though I have dozens of action items that come up in any given month, I can use the Stalogy’s narrow ruling to keep this section to a couple of pages.

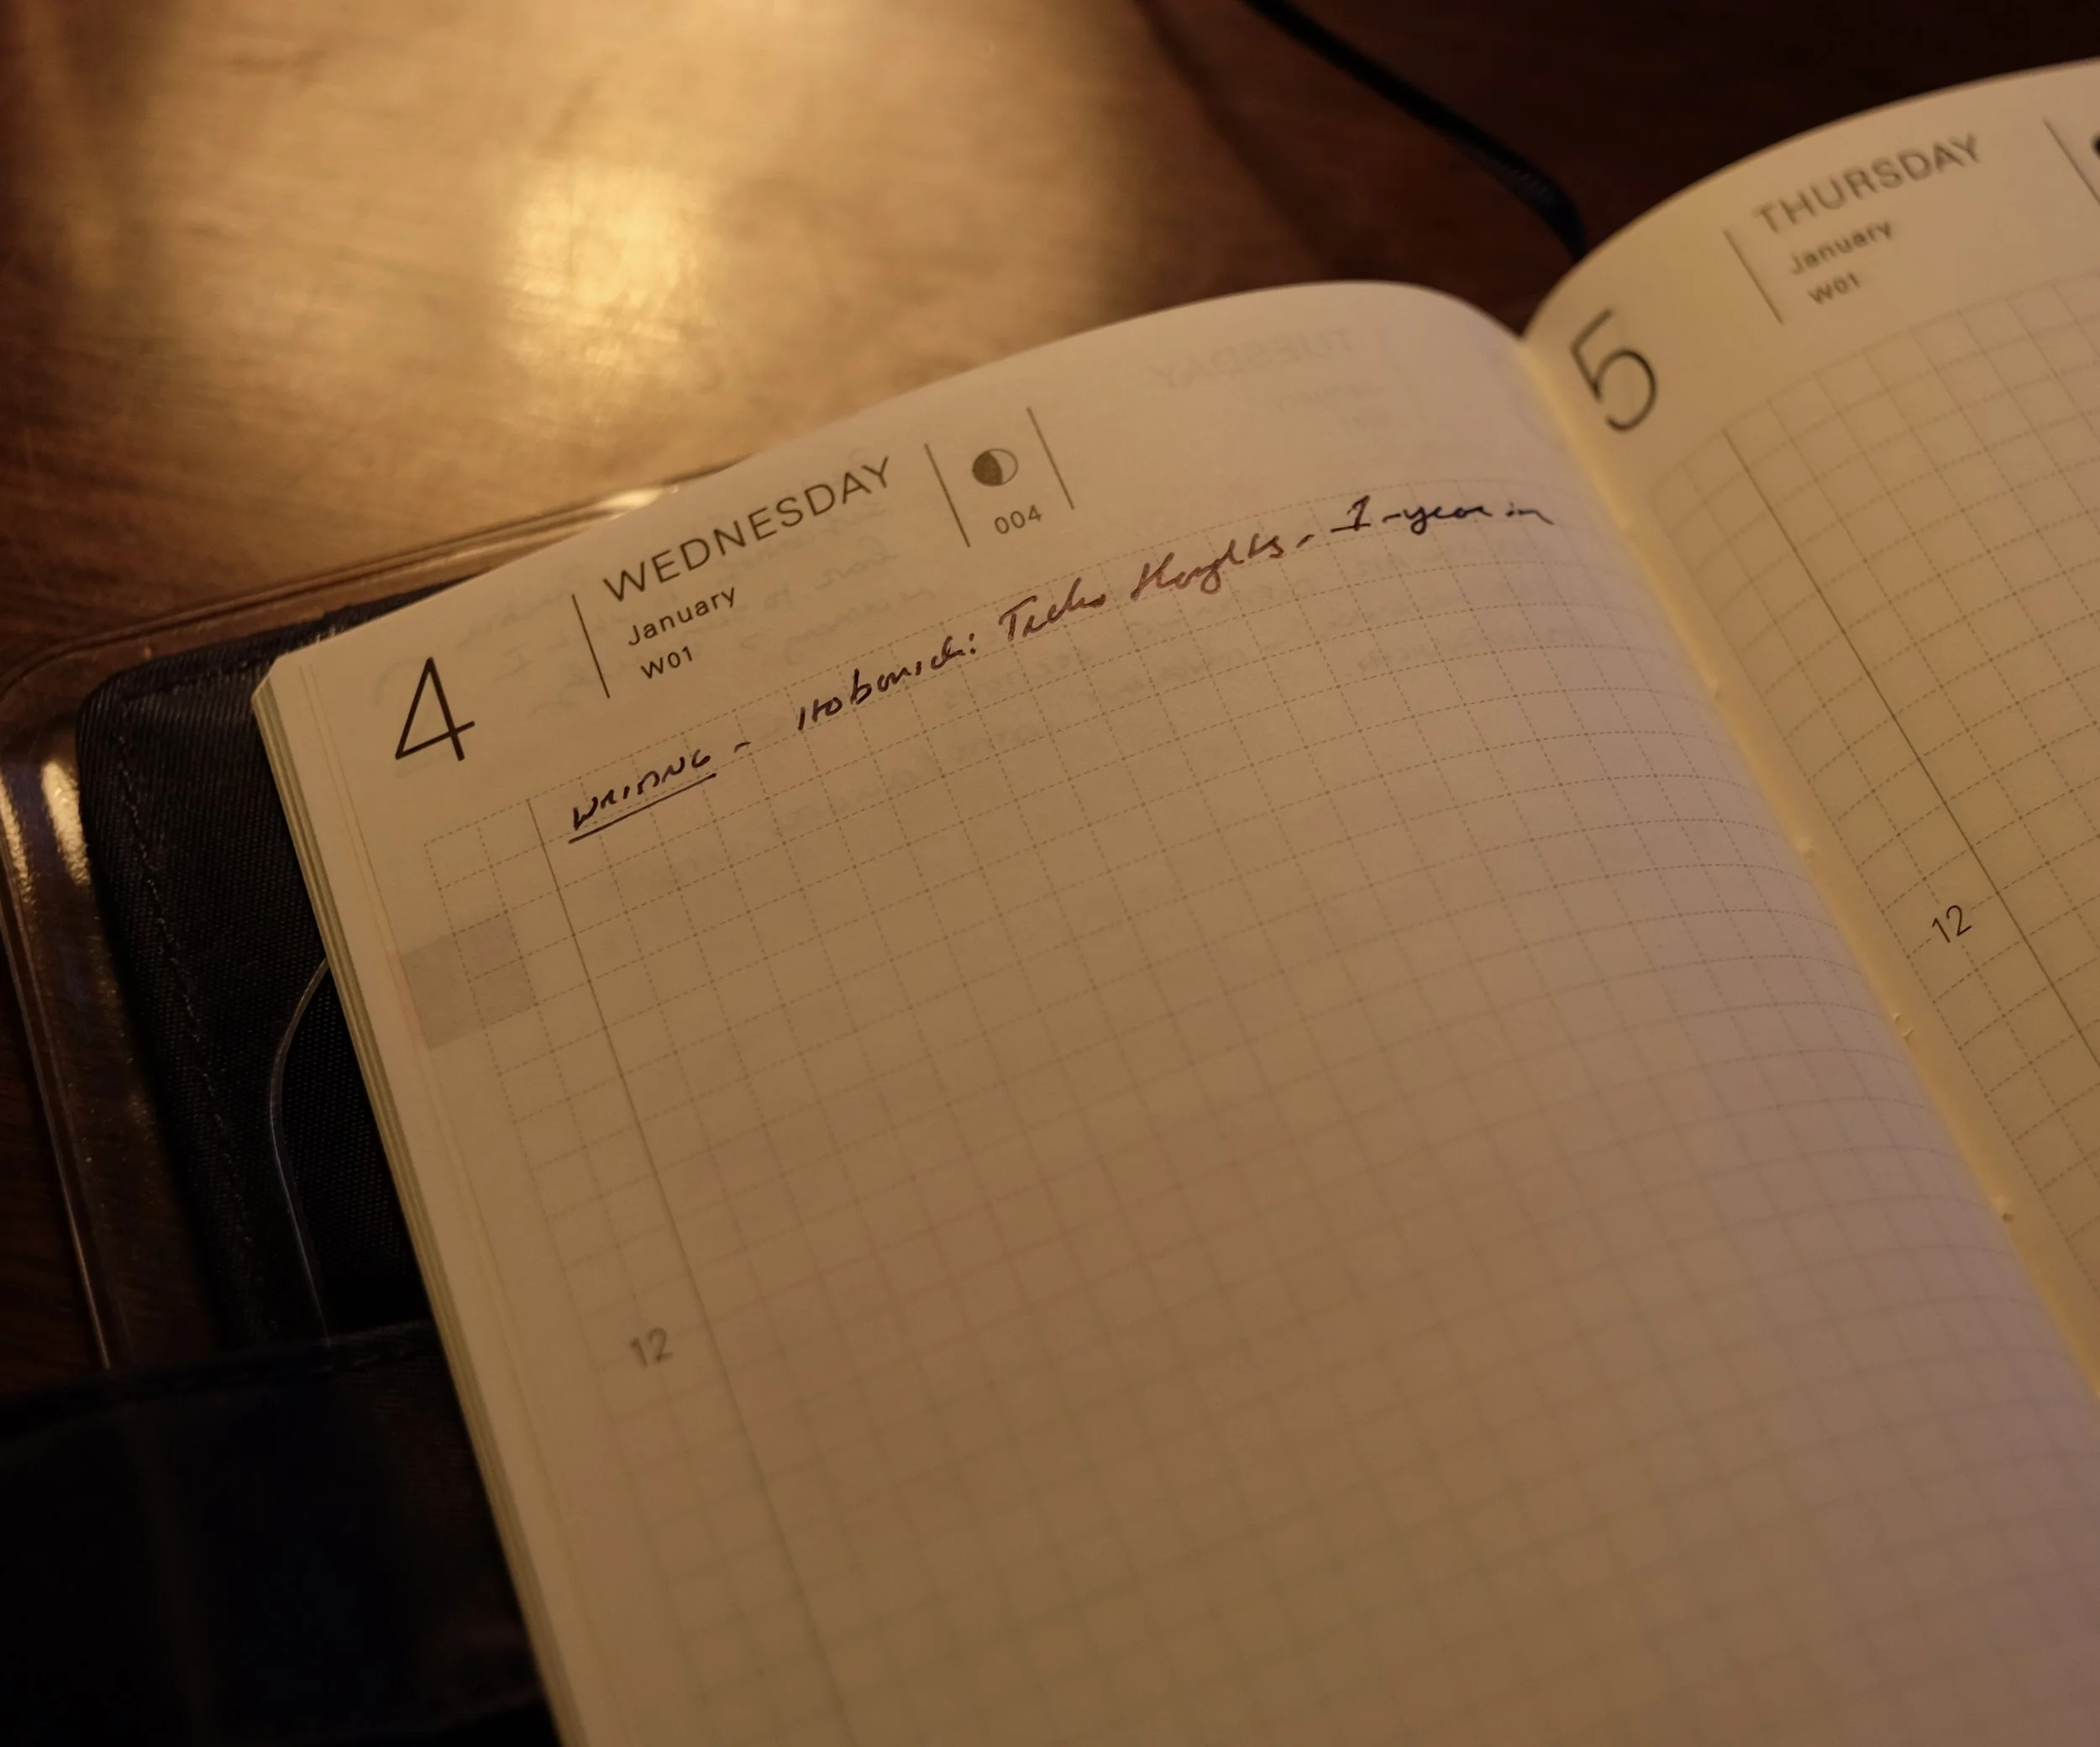
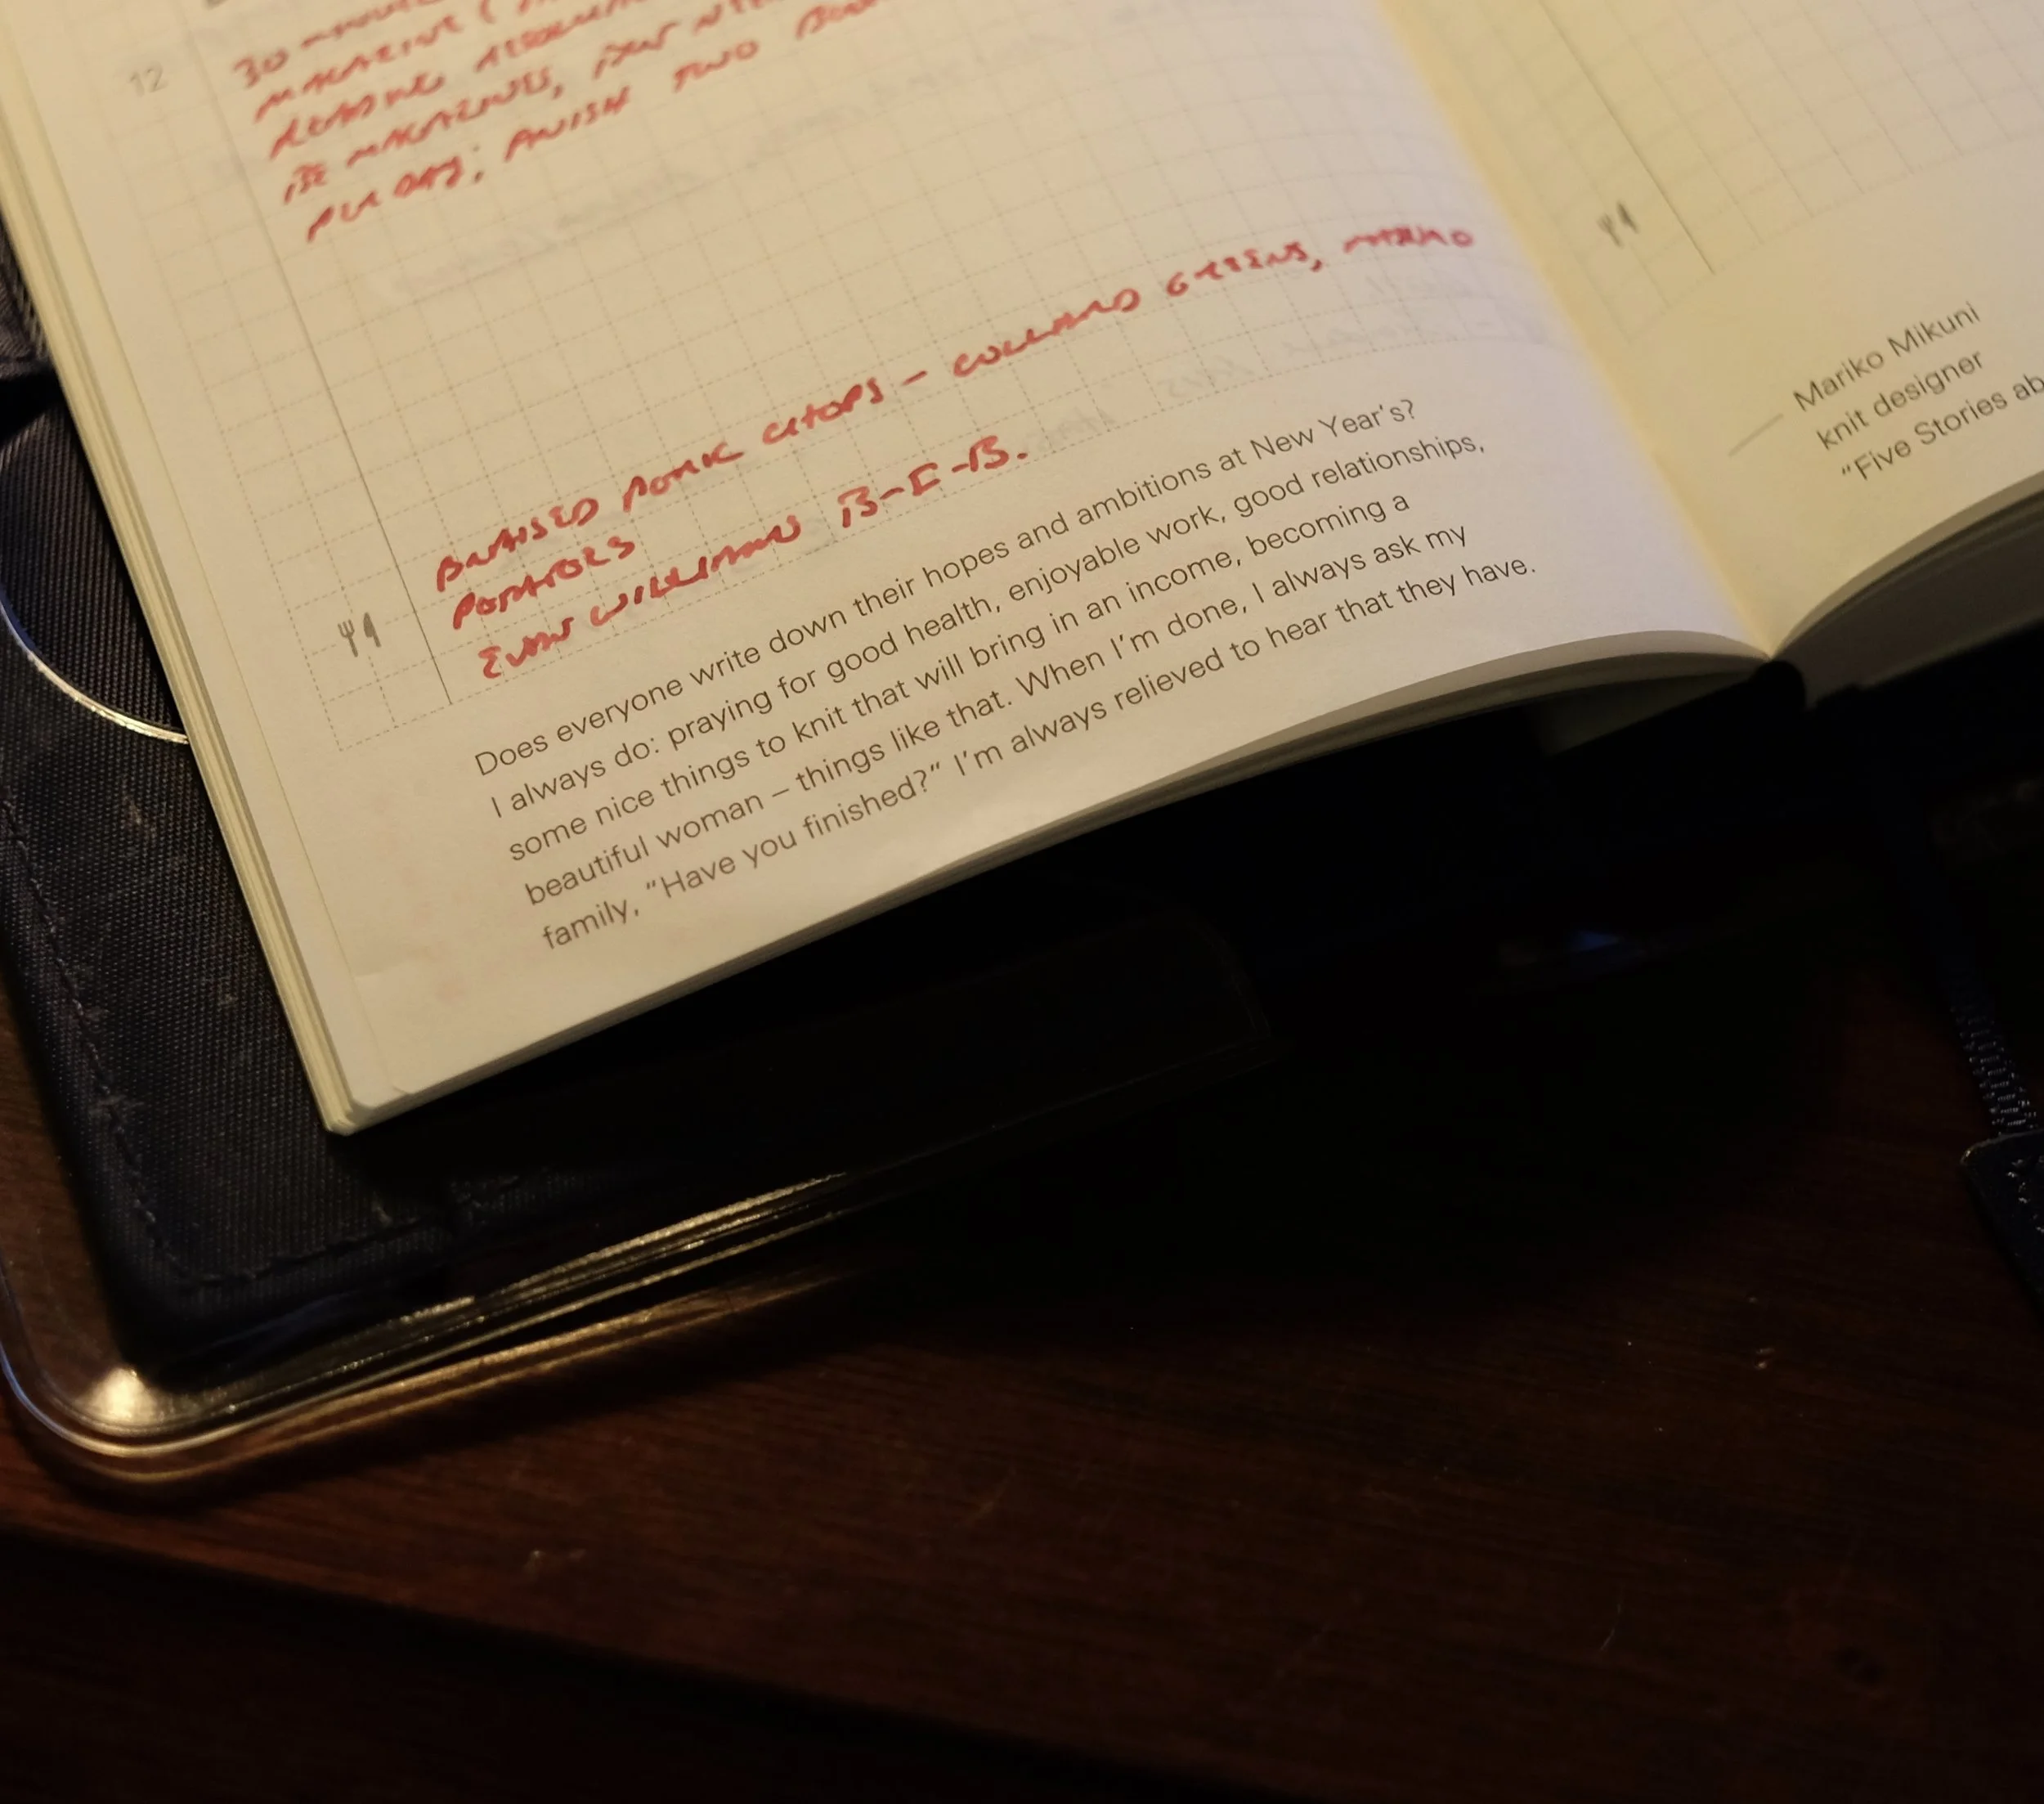
Here’s where I depart from standard bullet journaling technique. After the “Monthly Tasks” Section, I have pages of “daily entries,” but I don’t start a new page for every day. I will write the day, record what it is that I worked on and any notes I need to make for myself relating to follow-up, and once that day is over, I’ll skip a couple of lines and write a header for the next day. This method works for me because (1) it doesn’t waste paper; and (2) I often have days where I will work on two or three things, and I don’t need to make a full page of notes to record what I’ve been doing. The purpose of this journal isn’t to serve as a general purpose repository of information - I have separate binders and project-specific notebooks for that - but rather to serve as a record of how I spent my time.

These Midori page tabs are infinitely useful. There are options other than “numbered”, and we also carry metal versions and Maruman labels as well.

Other Things I Keep In My Notebook

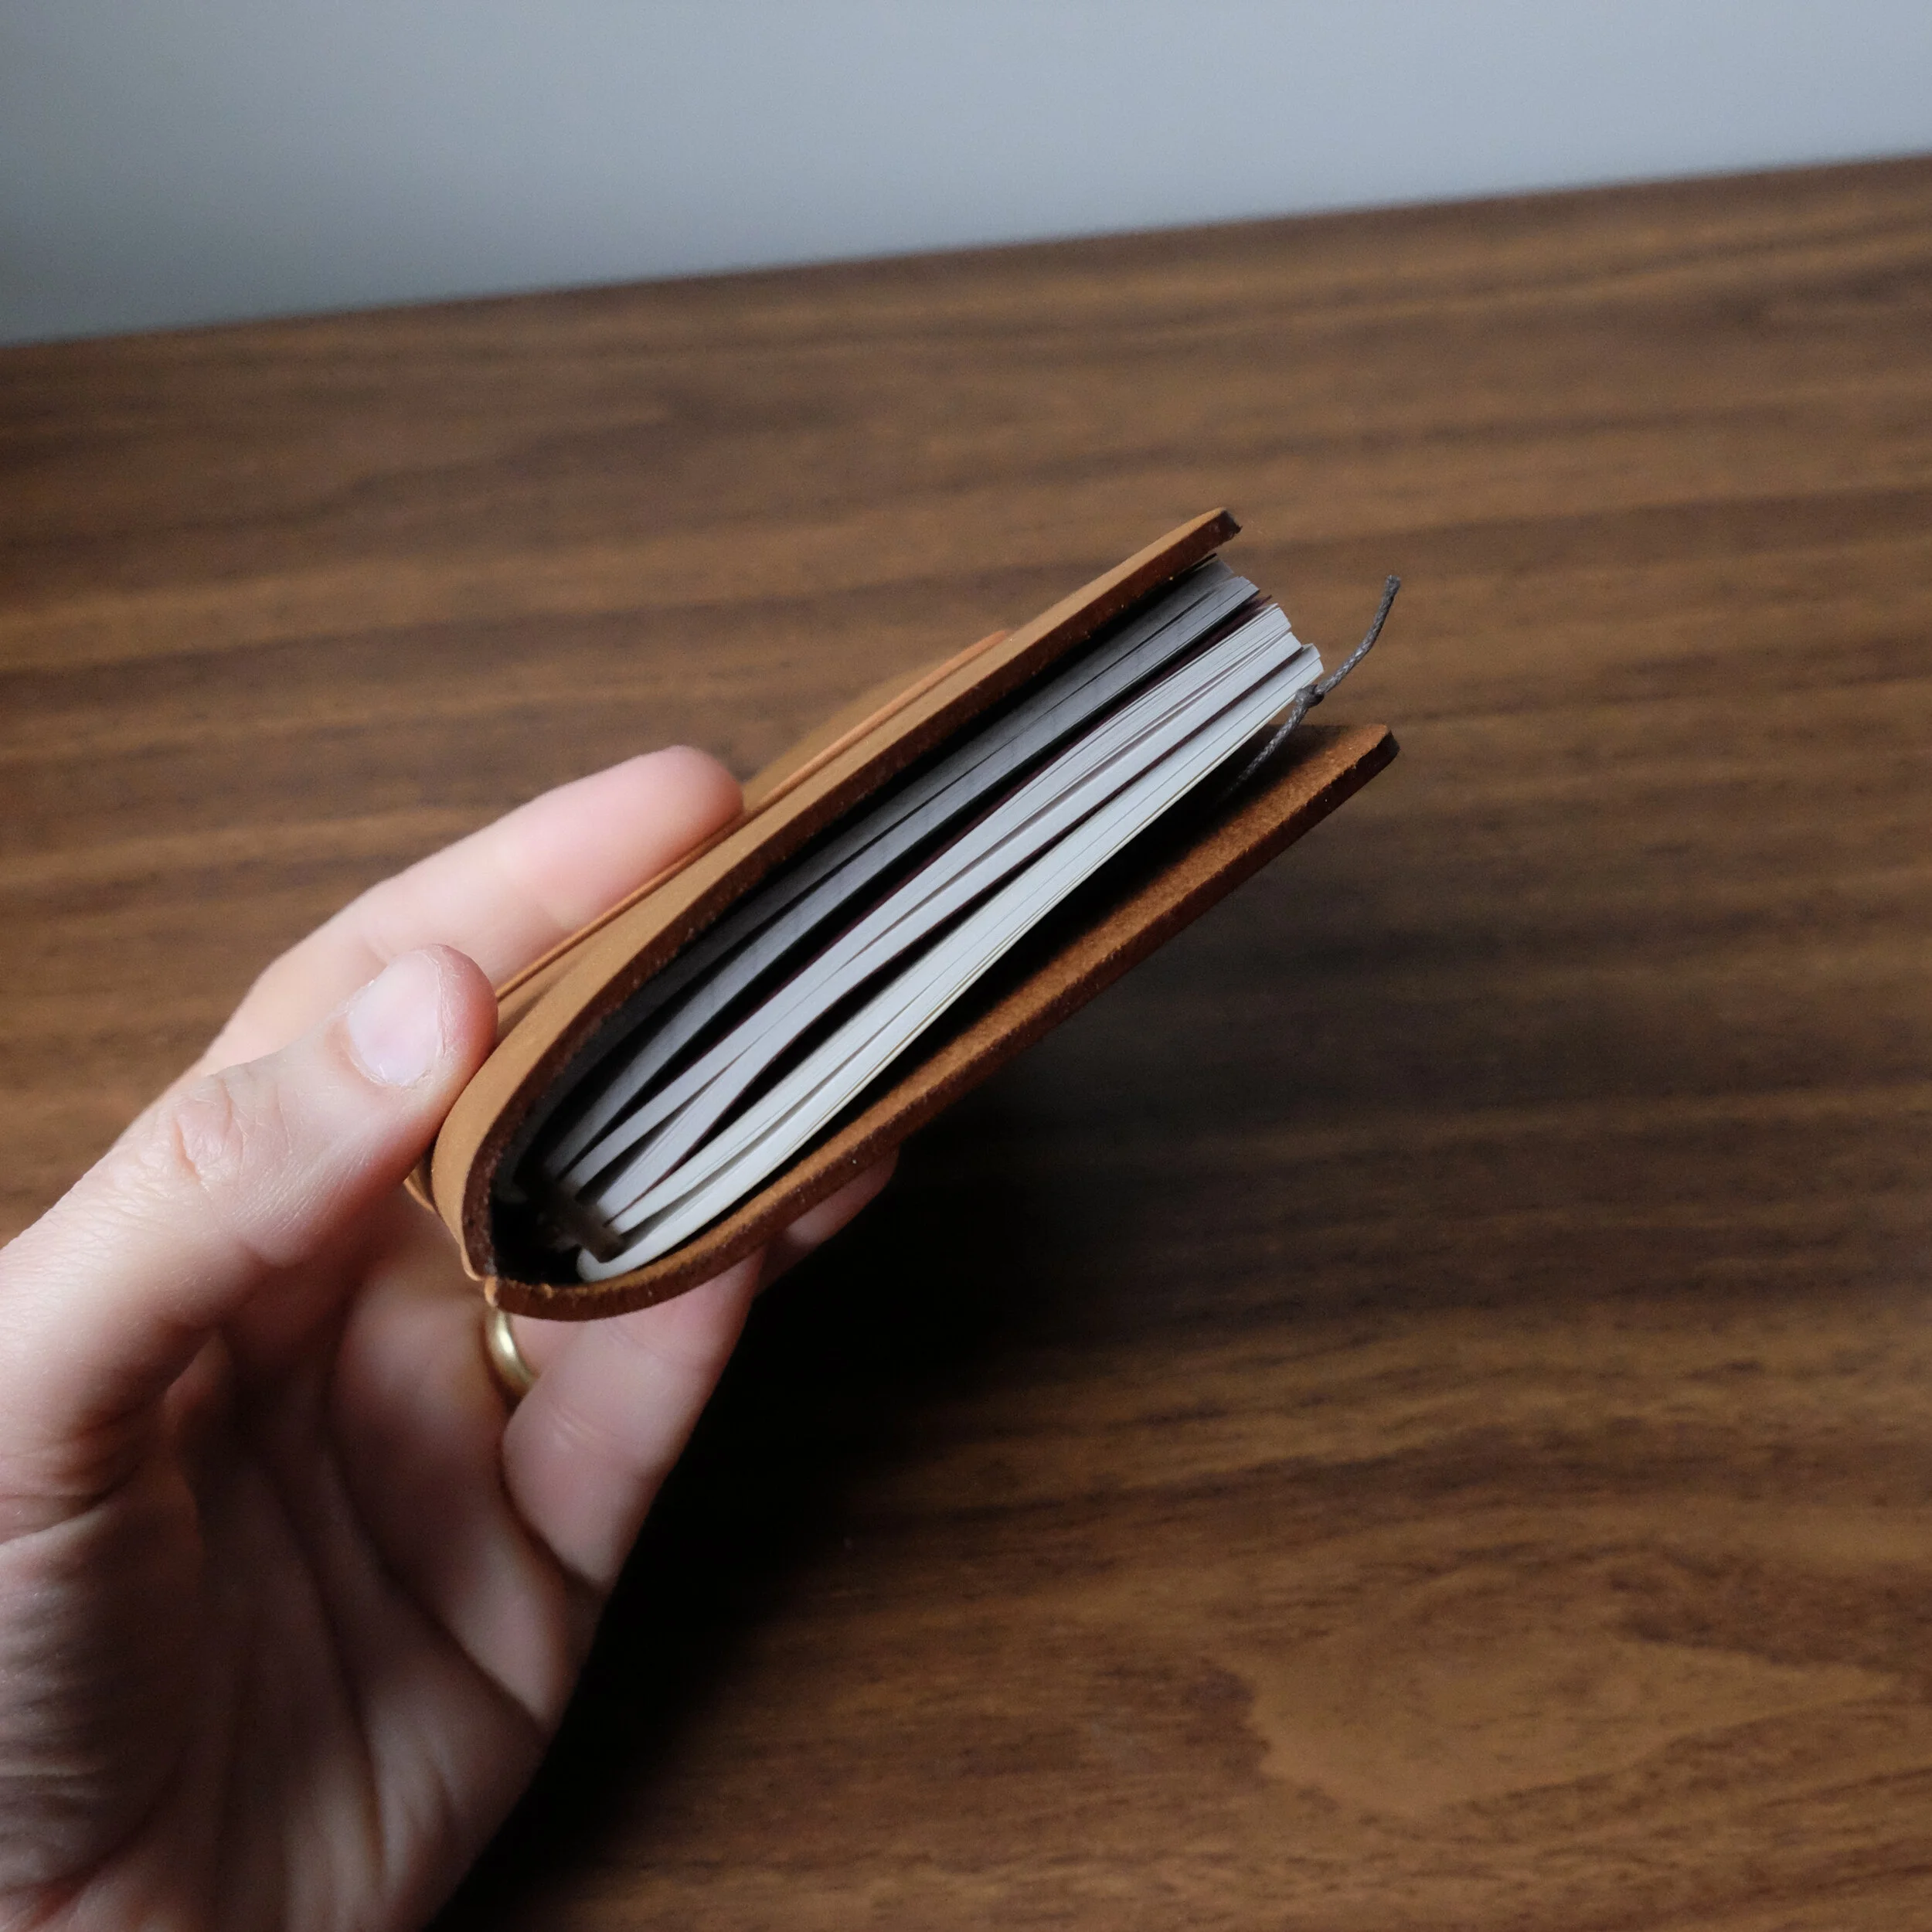
The second refill, after the Stalogy, is used solely as a scratch pad (i.e., infrequent rough calculations, notes from impromptu phone calls, jotted phone numbers, etc.). This notebook is typically thrown away after it’s full - I often find that what’s written in there makes no sense to me even a week later.

At the front, I have two pockets on the inside cover to hold loose papers and cards, a PVC zippered pouch that holds miscellaneous stamps and flags/labels, and my Traveler’s Sticky Notes. I use the back flap of the PVC pouch refill to hold some index cards, and I usually keep a ballpoint or other “write anywhere” pen in a Traveler’s Notebook Pen Loop.

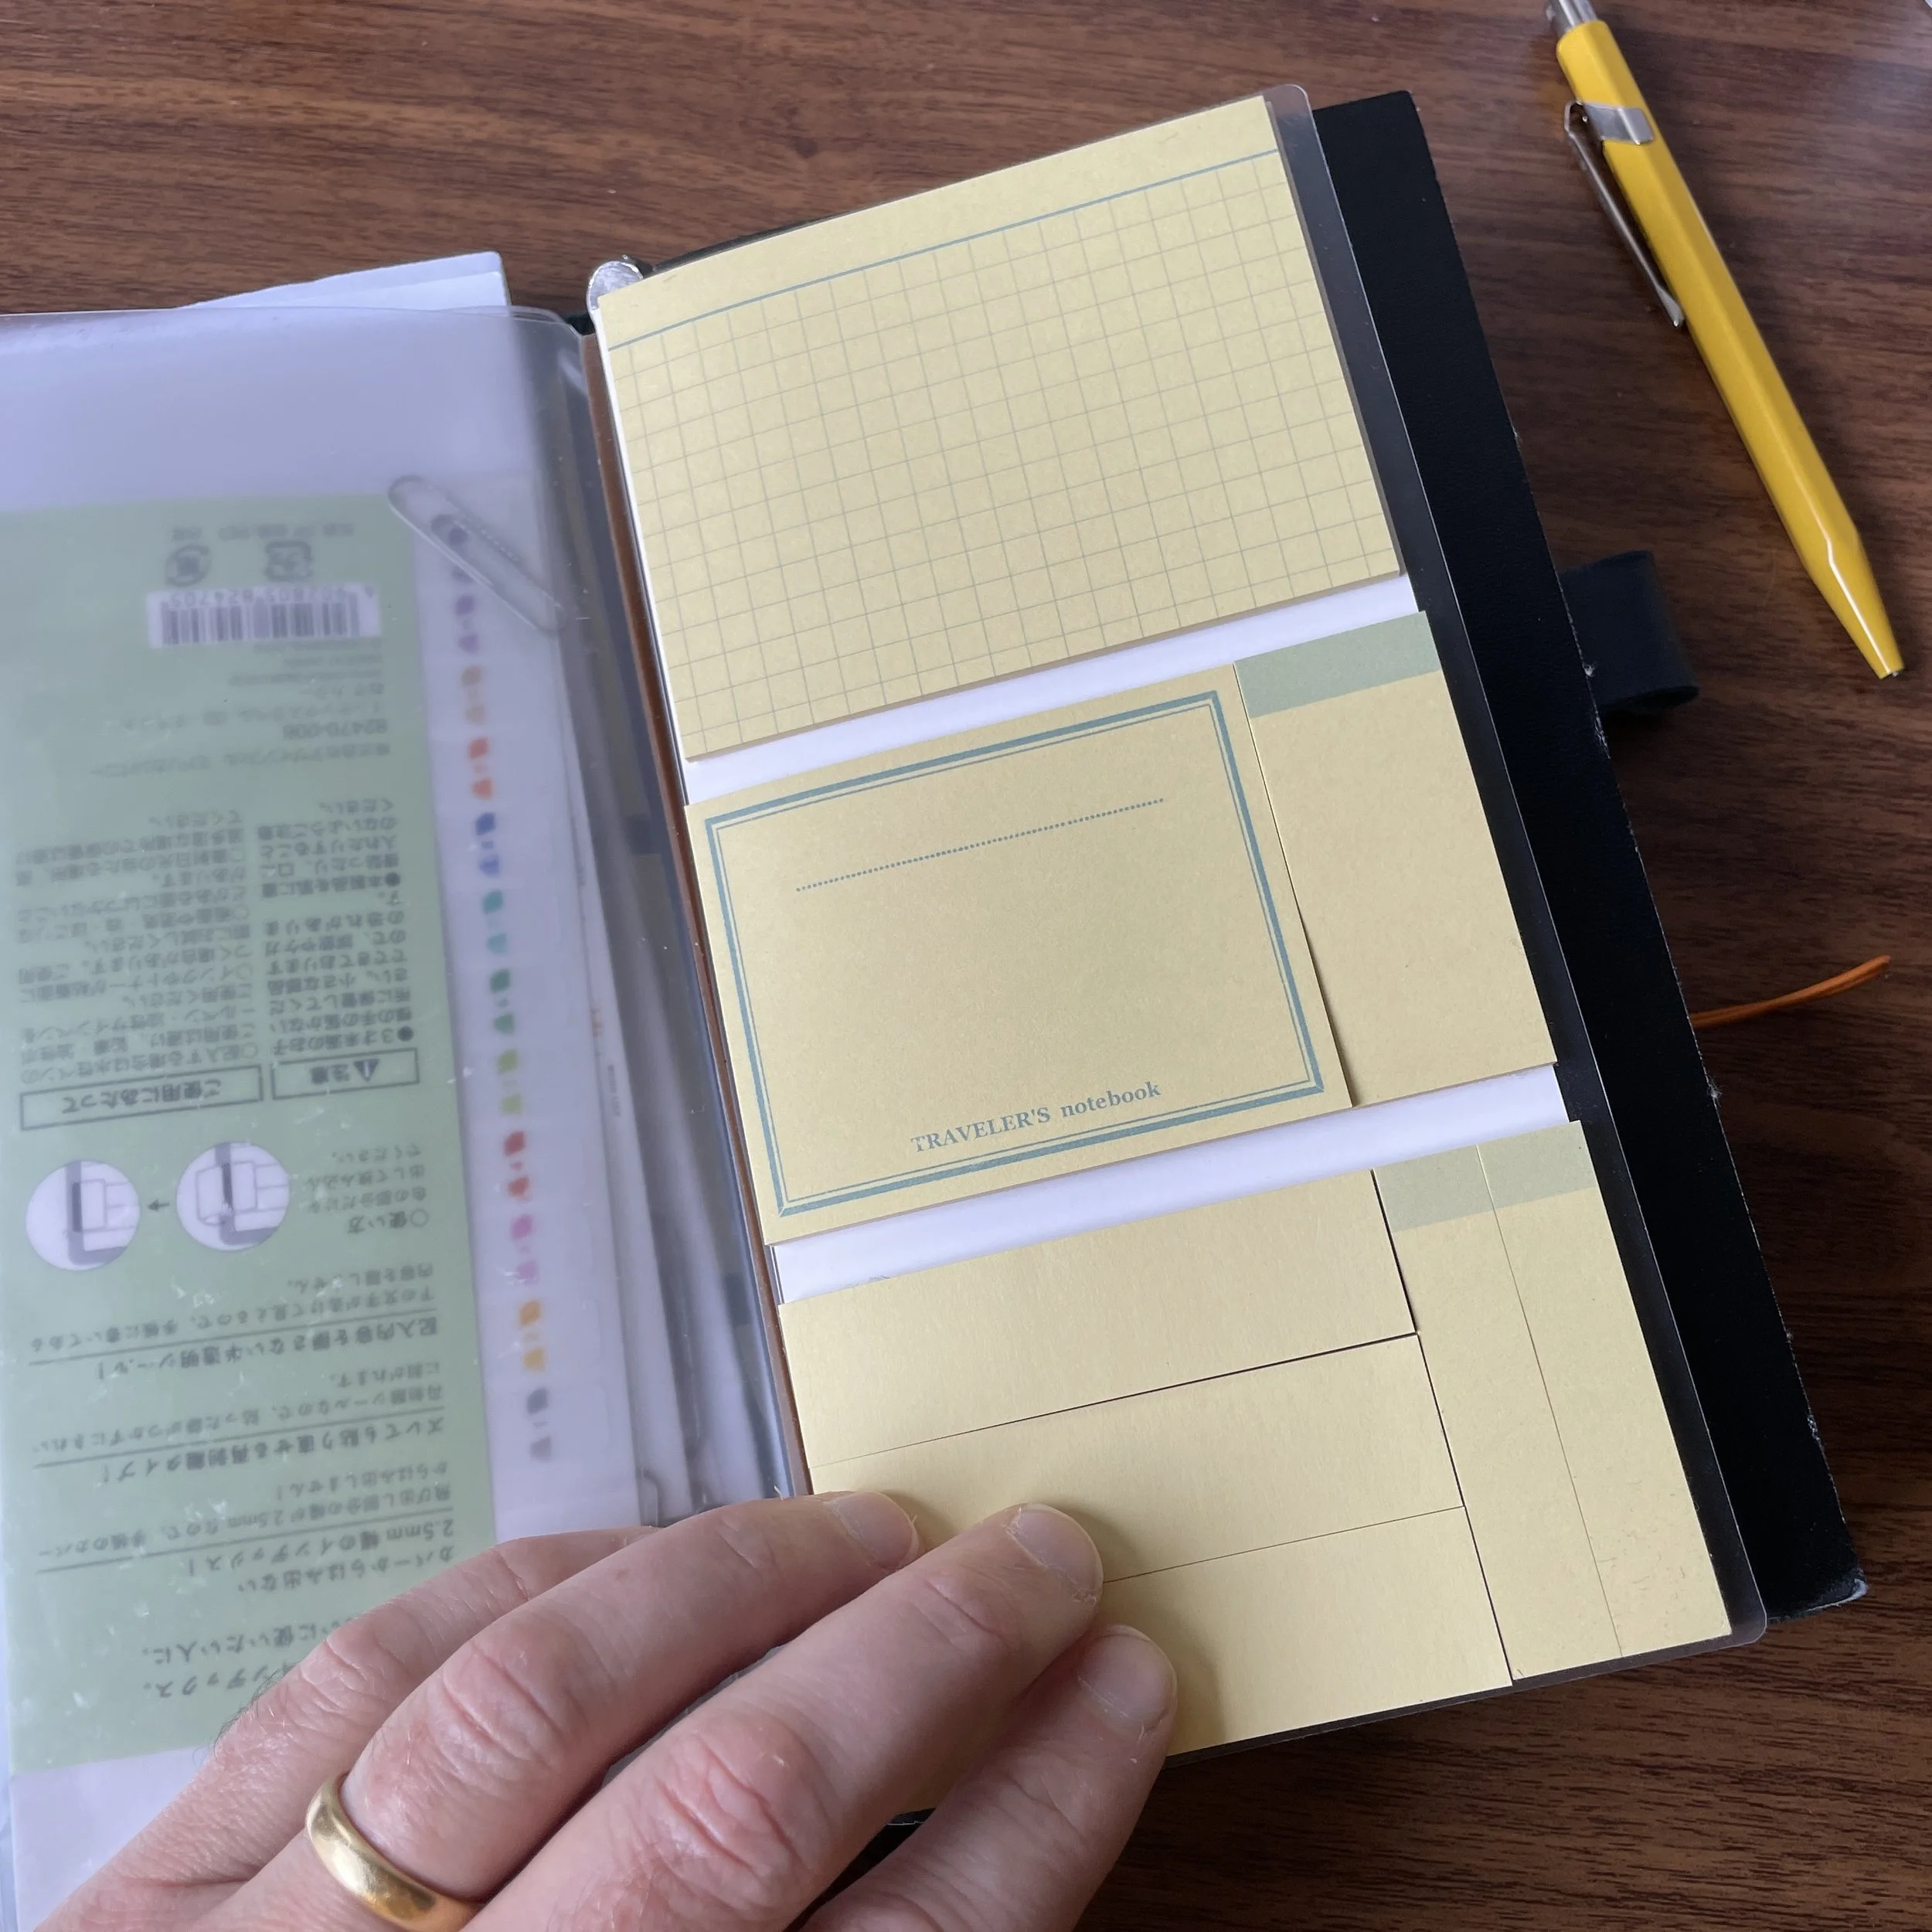
Fountain pen friendly sticky notes are few and far between. These Traveler’s Company versions are great.

You never know when you might need index cards!

Takeaways and Final Thoughts

To be sure, there is nothing ornate or pretty about my “Planner”, though I personally find a notebook that’s been used as intended to be oddly satisfying, and for that reason I have shelves full of them that I’ve finished that I can’t bear to throw away. I’m torn over whether or not anyone will be interested in a post like this, but given the feedback from the table in D.C., I thought I would go ahead and test it out. What do you think? Do you want to see similar content? Maybe more practical posts on pen-and-paper notetaking?

The Gentleman Stationer is supported exclusively by purchases from the T.G.S. Curated Shop and pledges via the T.G.S. Patreon Program. This post does not contain links to paid third-party sponsors or affiliates.

In Planners Tags Planner, Planners, Notebooks, Traveler's Notebook
5 Comments

Traveler's Notebook Tutorial: How to Connect Multiple Refills and Accessories

February 27, 2021

I’ve used the Traveler’s Notebook for years, and regard it as one of the best options for carrying multiple notebook refills inside a single cover. Want to carry a planner, notebook, and sketchbook together, with different papers? You can do that! While connecting multiple refills can seem tricky at first, it’s easy and intuitive once you get the hang of it. The general rule of thumb to remember: A primary refill secured to the notebook cover using the center elastic cord serves as an “anchor” for the entire system, allowing you to add additional refills and accessories using connecting rubber bands.

Changing out a single Traveler’s Notebook Refill is easy - just open the refill to the “staple page” and slip it under the center elastic cord. But most people will want to maximize this notebook system’s versatility. Read on to learn how to add mor…

Changing out a single Traveler’s Notebook Refill is easy - just open the refill to the “staple page” and slip it under the center elastic cord. But most people will want to maximize this notebook system’s versatility. Read on to learn how to add more!

Collect Your Traveler’s Notebook and Supplies

In order to assemble a Traveler’s Notebook containing up to three refills, you will need three things: a Traveler’s Notebook, your three refills of choice, and a package of connecting rubber bands. For this demonstration, I’m using a Passport size Traveler’s Notebook in “Camel” leather, but the process is the same for the Standard size. Here, I will walk through three different setups: a Traveler’s Notebook with two refills, a Traveler’s Notebook with three refills, and a Traveler’s Notebook with three refills plus accessories.

Clockwise from top left: Traveler’s Notebook Connecting Rubber Bands, Traveler’s Notebook Passport in Camel, Blank MD Refill (included in the Traveler’s Notebook Starter Kit), MD Paper Grid Refill, and Tomoe River (“Lightweight” Blank Refill).

Connecting Two Refills

To set up a Traveler’s Notebook with two inserts, attach the first to the notebook cover using the elastic cord, the same as if you were going to set your notebook up with a single insert. Take your second refill and place it next to the first, closed spine-to-spine.

Next, open both notebooks to their respective centers. Holding the two covers together, as shown here, loop a connecting rubber band over both notebooks. In your original refill, the rubber band should sit alongside the elastic cord. That’s it!

A two-refill notebook is perfect for a planner + notebook setup.

Connecting Three Refills

To assemble a Traveler’s Notebook with three inserts, start by picking your three books and decide the order in which you want them to appear in the notebook. Place the first and third inserts back to back, and set the second one aside for the moment.

Open the first and third refills to their centers, and using a connecting rubber band, attach them as shown above, similar to how you connected the inserts in a two-refill notebook.

Close the two refills, and set them face-down on the inside of the Traveler’s Notebook Cover, spine-to-spine and connected by the rubber band.

Gently pull the two notebooks apart, and pull the elastic cord up between the two refills. The connecting rubber band should be just loose enough to allow you to do this easily.

Slip your middle refill underneath the center elastic cord. There! You’ve now secured three refills inside.a Traveler’s Notebook!

Traveler's-Notebook-Three-Refills.jpeg

Adding Accessories

Your Traveler’s Notebook is only limited by how thick you want it to be. In addition to three refills, connected as demonstrated above, I’ve included a PVC Zippered Pouch and a set of TRC Sticky Notes on my Standard Size Traveler’s Notebook.

Attaching the PVC Pouch is pretty easy. I simply slid the pouch underneath the refills through the main elastic cord.

I then attached the Sticky Notes to the PVC Pouch using another connecting rubber band.

The Sticky Notes insert is actually a slim folio, with a think PVC cover to protect your unused stickies. Open the folio and slip the connecting rubber band over the cover and the PVC pouch, much the same as you would connect two notebook inserts.

My current Standard Traveler’s Notebook is set up with three paper inserts and two accessories - in other words a total of FIVE refills + accessories. This obviously increases the thickness and weight of the notebook, but it also transforms it into …

My current Standard Traveler’s Notebook is set up with three paper inserts and two accessories - in other words a total of FIVE refills + accessories. This obviously increases the thickness and weight of the notebook, but it also transforms it into a powerful all-in-one tool.

Traveler’s Notebooks and Accessories in the T.G.S. Curated Shop

All of the Traveler’s Notebooks, refills, and accessories pictured here are available for purchase in the T.G.S. Curated Shop. As an authorized Traveler’s Company retailer, we carry Notebook Starter Kits, MD Paper Refills, Planner Refills, Specialty Paper Refills, and Accessories, in addition to TRC Brass products such as pen cases, rulers, and clips. Please feel free to reach out through the site if you have any specific questions about Traveler’s Notebook products and how to use them. If you’re interested in reading further on my own Traveler’s Notebook setup, check out this recent post in which I walk through the standard setup pictured here.

In How To, Guide, Notebook Review, Planners Tags Traveler's Notebook, Traveler's Company, How To
4 Comments

My Personal Traveler's Notebook, Plus Traveler's Notebooks in The Curated Shop!

January 30, 2021

Earlier this month, I teased my notebook setup for 2021, and the biggest change was that I have my Traveler’s Notebook firmly back in the rotation. Two things drove this: (1) After experimenting with pretty much every notebook format out there, I’ve come to realize that I prefer taller/narrower notebooks for most of my writing as opposed to a standard A4 or A5; and (2) I prefer versatile formats that allow me to easily subdivide notebooks into sections and add planners and organizing accessories, without being locked into a “dated planner” system. After using the Traveler’s Notebook on and off for the past six years, I’ve come full circle and feel very much at home here. Today’s post is a few shots of my personal notebook setup, with a brief description on how I use each one and links to the specific refills.

For organizational purposes, my Traveler’s Notebook has sticker pouches on the inside of the cover, as well as one of the zippered PVC pouches to hold things like paper clips, stamps, and a few Book Darts.

After the zippered pouch, I have a Kraft Paper Folder that I use to hold travel itineraries, notes, and other loose paper (typically folded). Back when I was traveling extensively for work, any hard copy travel documentation went in here.

The first refill I use is the Standard size “Free Diary” (Weekly + Memo), which I use for blog planning (with notes) and logging various things I track during the week. It can also serve as a mini-journal and repository for quotes and snippets of things I’ve read during the week.

The second refill I use is the “Free Diary (Daily),” which is an undated daily planner refill that I use as a journal. (Since I don’t always write every day, I tend to ignore the numbered pages and just write in the date.) These refills have enough pages for 60 days, assuming one day per page.

The last refill I’m using (for notes, etc.) is the standard blank MD Paper refill that ships with all Traveler’s Notebook starter kits.

So I use three refills total for writing. After the last refill, I have one more pocket sticker on the back cover. Here, you can also see the Medium Pen Holder in Blue (with my Traveler’s Company Brass Ballpoint Pen). This particular Traveler’s Notebook cover was a limited edition from a few years ago, but Traveler’s Company has since released a standard blue notebook. I purchased the orange band separately, as part of a Traveler’s Notebook Repair Kit that allows you to upgrade your band to one of eight colors.

New Traveler’s Company Products Available in The T.G.S. Curated Shop

As you may have seen already, I’m happy to announce that the T.G.S. Curated Shop now stocks the full line of Traveler’s Notebook Starter Kits, Refills, and Accessories! I currently have notebooks available in most sizes and colors (both Standard and Passport), as well as most of the paper refills and accessories, though some are on backorder with the distributor. Please feel free to reach out directly if you have any questions about the Traveler’s Notebook system and how I personally use it. I will also be posting more in-depth Traveler’s Notebook content in the coming months, including a Passport notebook I’m setting up for pocket carry.

Starter Kits
Starter Kits
Standard Refills
Standard Refills
Diary/Planner Refills
Accessories
Accessories

This post contains links to the T.G.S. Curated Shop. All products shown here are authentic Traveler’s Company products. The Gentleman Stationer is an authorized retailer of Traveler’s Company Products and The Traveler’s Notebook.

In Planners, TGS Curated Shop Tags Traveler's Notebook, Traveler's Company
3 Comments

Updating the EDC: Galen Leather A5 Zipfolio

June 22, 2019

Some people have bag problems, some people have pen problems, some people have pencil problems. I have all of the above, but my main weakness is portfolios. I’ve tried a huge swath of them, from the super-inexpensive Lihit Labs “Bag in a Bag” to the pricier Bellroy A5 Zipfolio. The thing I love about portfolios is that you can own several of them and use them all, because they each come in various sizes and therefore have different use cases: a larger one that holds a legal or A4 pad to take to a meeting; an A5 portfolio that’s a bit more portable for journaling in a coffee shop or toting around your planner; or even smaller “pocket-sized” portfolios like the Nock Co. Hightower designed to hold a pocket notebook and a few pens. Portfolios slide easily into a bag, or if they have a zipper, you can carry them alone as your bag if you just want to grab something small and head out the door. Options truly are endless!

An overview of the A5 Zipfolio on my desk at work, complete with three pens and a Jibun Techo Planner System.

So what have I been using lately? Zeynep at Galen Leather was kind enough to send me one of their A5 Zipfolios in “Crazy Horse” brown leather, which is a rough-looking (in a good way) material that I’ve been lusting after for a long time. Though I love the pocket-sized Traveler’s-style notebook covers she sent me a couple years ago, Galen Leather has flown under my radar since and I’ve not taken the opportunity to explore their expanded product line. The company has absolutely exploded in popularity over the past few years. They’ve even begun to offer a range of wood products in collaboration with Walden Woodworkers’ Co., including a Writing Box and a Covered Pen Tray and other desk accessories.

The Zipfolio also comes with a removable keychain. Since the keys I carry are pretty bulky, I’m not sure how much use this particular feature will get, but it’s nice to have. The position of the keychain is such that they shouldn’t rub up against your pens as long as you keep them in the removable pen insert.

Another loadout from this week, where I threw in a highlighter, Airpods, and glasses cleaning cloth.

So let’s take a closer look at the Zipfolio, and what distinguishes it from other available options. For starters, a key attraction for me is the size. A5 notebooks are my personal sweet-spot, which I use for most writing both at work and at home. Other sizes will fit, however, including the Jibun Techo 3-in-1, which is my current primary journal/planner/notebook that I’ve been using since January. A few other attributes that make the Zipfolio a no-brainer recommendation for me include:

  • Sturdy Construction. Galen Leather’s take on the Zipfolio provides thick-yet-supple leather and a sturdy zipper for a relatively inexpensive $119. It may not be as polished or “corporate” looking as something from Bellroy, but that’s the aesthetic, and in any event you will get a ton of mileage out of this portfolio. If you tend to be rough on your leather products, go with Galen, and consider Crazy Horse leather, because it hides scratches well. Scuffs and dings are part of the look!

  • Practical Modular Layout. This portfolio strike a balance between customizability and capacity, on the one hand, and practicality on the other. It holds just enough stuff to allow you to use it as a true grab ‘n go daily carry without getting silly, like other modular systems I’ve seen where you can pack so much stuff into them that the portfolio not only becomes too fat but risks damage to your pens and other items because it’s so crammed full of stuff that rubs together. Here, you have seven elastic loops that are well spaced: four of them are attached to a removable panel and plainly intended for pens or mechanical pencils, with the other three larger and more versatile. As you can see from the pictures, I’ve used them to carry anything from highlighters to headphones/Airpods to a microfiber cleaning cloth.

  • Extra Space for Added Notebook Versatility. One drawback to the Bellroy A5 Workfolio was the relatively tight fit if you wanted to use a standard hardcover A5 notebook such as a Leuchtturm or a Midori. Since I don’t regularly use the slim softcover notebooks, the Galen Leather Zipfolio works better for me. (Galen Leather designs most of their products specifically to fit Leuchtturm, Baron Fig Confidant, Hobonichi Cousin A5, etc.) Even though it’s not A5, this Zipfolio fits my Jibun Techo well.

  • Versatile Left-Side Pocket. The Zipfolio is marketed as an “A5 Notebook and iPad Mini Folio”, with a lined pocket on the left-hand side that will protect small tablets such as a Kindle Fire 7 or an iPad Mini. While I might slide in a tablet for a trip, I think this would bulk up the Zipfolio too much in an everyday carry situation. Fortunately, the left-hand slot can also easily hold a pocket notebook, folded sheets of writing paper, or even a soft-cover notebook like the recently released Studio Neat Totebook!

  • A Brand with a Great Story. While I may not write about the people behind the products as much as the products themselves, Galen Leather has a compelling story. I won’t spoil it for you but please do make the time to read it. (Link here to their site.)

Zipfolio with the Jibun Techo open to the week-on-two-pages layout. This has been my go-to carry for work over the past few weeks.

The pen-holder insert is removable, if you don’t want to carry pens in your Zipfolio or just want to carry one or two pens in the larger loops.

Notebooks are easy to switch out. The back of the Zipfolio contains a soft leather flap, under which you insert the back cover of your notebook.

Galen Leather A5 Zipfolio, loaded up and ready to go!

Takeaways and Where to Buy

All Galen Leather products I have owned over the years have thoroughly impressed me, from Traveler’s-style notebook covers, to a 40-pen zippered album-style case, to this Zipfolio. What I really like about Galen’s overall product line is their rugged durability. Compared to the Bellroy Workfolio, the Galen Leather Zipfolio just feels more durable and a bit less fussy, even though Bellroy products are also designed to last and age better than most smooth leather. If you’re someone who obsesses over gouges and scratches on your smooth leather products, however (like yours truly), the Crazy Horse leather option is excellent.

To view their full range of goods, visit the Galen Leather website. They are a family-owned business located in Instanbul, Turkey, and many of their products are made to order, so shipping will not be immediate, but my Zipfolio did arrive fairly quickly. For those who would rather go a more familiar route, Galen Leather also maintains an Amazon store, and the A5 Zipfolio is one of the products featured there.

Disclaimer: I received the product featured in this review free of charge, for review purposes. This post contains affiliate links. Many thanks to Galen Leather for providing this product for review, and making this post possible!

In Bag Reviews, Accessories, Planners, Portfolios Tags Portfolio, Galen Leather, Zipfolio, EDC
Comment

Hobonichi Planner: Thoughts After One Year

January 4, 2017

Back in May, I offered my initial thoughts after spending five months with the Hobonichi Planner. For those of you unfamiliar with the Hobonichi, a quick recap; it's a bound notebook with dated pages that's sold and marketed as a planner, and many people use it for that purpose. Unlike most "planners," however, the Hobonichi uses the amazing fountain-pen friendly Tomoe River paper, and its pages aren't set up in such a way that precludes you from using the book as something other than a planner, such as a journal, commonplace book, life log, etc. 

When I ordered my first Hobonichi in December 2015, I intended to use it as a journal, and for the most part that's what I've done, using it to jot down quotes, thoughts, accomplishments, significant events in my life - you get the idea. Using the Hobonichi's "single-page-per-day" format for journaling is a lot less intimidating than starting a journal in a blank book. It doesn't look "out of place" to fill up only a quarter of a page, and there were many uneventful days where I couldn't muster more than a few lines.  I even allowed myself to miss some days entirely,  though it didn't happen very often. When I did miss a day or left a page mostly blank, sometimes I'd come back and use the empty space (on that awesome paper) to jot down thoughts on a potential blog post, test an ink, etc.

So What's New? 

Honestly, my first year with the Hobonichi was an experiment, and now that I know I that I like the Hobonichi format and have a use for this product, I've spent some more time thinking about how I'd like to use the book differently to maximize both my enjoyment and the utility. A few ideas that I plan to try out:

  • A planner for certain things. I'm going to continue to use the Hobonichi as a journal (or as much of a "journal" as I keep), but I also want to try to use it as more of a planner for certain specific things, such as the blog/website. (I tried this for a bit last year and liked it, but fell off the wagon about halfway through.) Another great feature of the Hobonichi is that it's basically three planners in one. The day-per-page section makes up the bulk of the pages, but the front of the book also contains a traditional month-on-two-pages section and a column-style layout with four months on two pages. The latter looks like it would be perfect for a blog editorial calendar. (See pictures of the various layouts below.)
  • More specificity. I also want to be a bit more active in writing things down. I spent some time over the holidays reading back through last year's entries, and was pleasantly surprised at how much fun it was to recall small details that I had completely forgotten about: the name of a restaurant where we had dinner on vacation, something hysterically funny my daughter said, little things, seemingly insignificant at the time, that would otherwise be lost if I hadn't taken 30 seconds to jot them down.
  • Lists. I like making comprehensive lists but I'm really bad at maintaining them over the long-term. It's been a goal of mine for a while to keep good running lists of books I've read and want to read, music I want to listen to, pens I've tried, various "wish lists," etc. The problem is that I start them in several different places and don't update them. At least some of these are going into the Hobonichi, which has 12 blank dot-grid pages at the back. 

The common thread running through all of these "goals" is that most of them require that I carry the Hobonichi with me, if not all the time, certainly more than last year when it lived on my desk at home. Good thing it's extremely portable! I also invested in a canvas and plastic cover, so there's less concern about this small journal getting smashed up in a bag. 

View fullsize Page-Per-Day Layout
View fullsize Months in Columns
View fullsize Month on Two Pages
View fullsize Daily Hobonichi Quote

Where to Buy the Hobonichi Planner

If you're interested in getting the Hobonichi Planner into your hands as quickly as possible, Amazon is your best bet due to the Prime shipping eligibility. The official Hobonichi Covers are a bit hard to come by, so you may have to order them directly from Japan, but you can find third-party versions on Amazon, including some from Galen Leather (whose products I've reviewed before). Jetpens also stocks both the Hobonichi and the cover but they are currently out of stock. 

At some point I'd like to try Hobonichi products other than the A6 planner. There is a larger A5 size Hobonichi "Cousin," as well as a smaller "Hobonichi Weeks" version that is slim enough to slip into a jacket pocket. If you like the A6 size and layout but want a slimmer book, the original Techo is also sold in two volumes, called the "Hobonichi Avec." 

A final note: The naming conventions of the various Hobonichi products can be somewhat confusing at first. The "Hobonichi Planner," which is what I own and what is pictured above, is the English-language version of the "Hobonichi Techo," the original A6 planner from Japan. To my knowledge, the Hobonichi Planner is the only English-language Hobonichi - all others are in Japanese - but that doesn't stop many non-Japanese speakers from using the Japanese versions. YMMV depending on how you want to use the book, so be warned before you order anything other than the English-language planner. 

Disclaimer: I purchased the product featured in this review with my own funds, for my own use. This post contains affiliate links. 

In Notebook Review, Planner, Planners Tags Hobonichi Techo, Planner
2 Comments
← Newer Posts
Store Location
Visit the T.G.S. Curated SHOP
*New* Updated "Best Pens" Guide (2025)
TGS x Hinze Pens Violet Tendencies Taschenstift Fountain Pen
Hierarchies of Fountain Pen Friendly Paper
Allex Scissors arrayed on a desk showing link to desk accessories

Join Our Patreon!
Subscribe to the TGS E-mail List

Featured Posts

Featured
Pilot-Iroshizuku-Yama-Budo-Writing-Sample.jpeg
May 24, 2025
Joe's Picks: Five Favorite Inks From Pilot's Iroshizuku Lineup
May 24, 2025
May 24, 2025
Yamamoto-Gray-Paper-Sampler-Set.jpeg
May 10, 2025
Discovering Unusual Paper: "Paper Tasting" Sets from Yamamoto Paper
May 10, 2025
May 10, 2025
Four-Micarta-Fountain-Pens.jpeg
Apr 19, 2025
Yes, Micarta for me! I finally got my hands on Some Micarta Pens, Plus My Own Special Edition
Apr 19, 2025
Apr 19, 2025
The Gentleman Stationer RSS

© Digital Divide Media, LLC, 2014-present.

All content is the exclusive property of Digital Divide Media, LLC, d/b/a The Gentleman Stationer, including “The Gentleman Stationer” website and trademark, and should not be reproduced without express written permission.  All rights reserved.

All content containing paid advertising, affiliate links, or sponsored content will be plainly disclosed by a disclaimer when/if featured.

Contact Information

Store Shipping Policy and Return Policy

Privacy Policy

Cookie Policy

Terms and Conditions

Powered by Squarespace